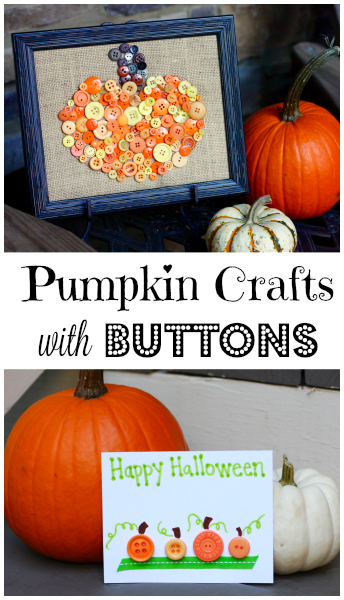
We love getting crafty with our kids and with Halloween right around the corner, the pumpkin crafts are on overload. Creating an easy button pumpkin craft — and using a little glue! — is fun for kids of all ages in fall. Even the littlest of hands can help create these projects and the finished products are sure to be cute as a button.

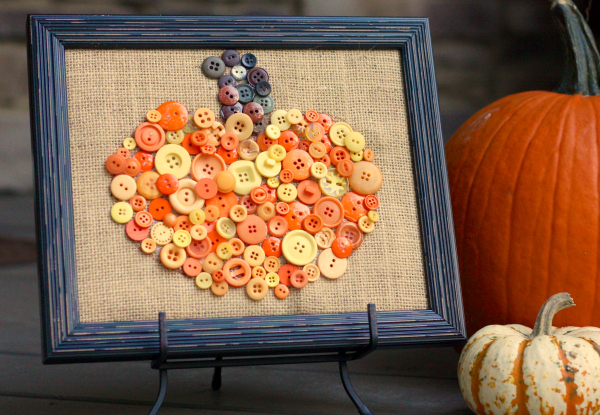
Framed pumpkin on burlap
There is no denying that burlap is “in” right now. From home decor to crafting, we see it just about everywhere! The good news? It is affordable and pretty easy to work with. It quickly adds texture to any space and automatically gives your fall decor that shabby chic look.
Materials:
1. Burlap
2. Assortment of orange and brown buttons
3. Craft glue
4. Marker
5. 8×10 frame for displaying finished project
Directions:
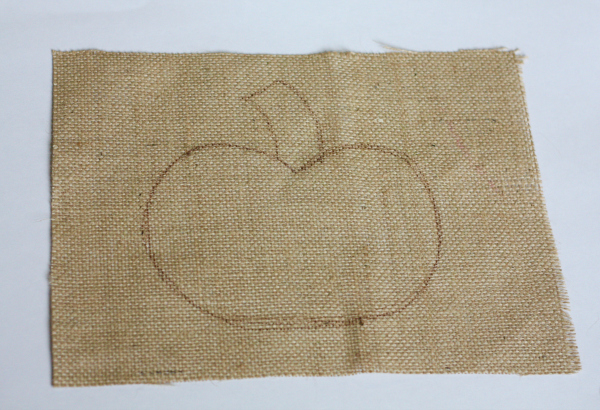
1. Cut burlap to fit frame, leaving an extra inch on all sides. (For an 8×10 frame, cut the burlap to be 9×11.)
2. Using a dark marker, roughly sketch an outline of a pumpkin.
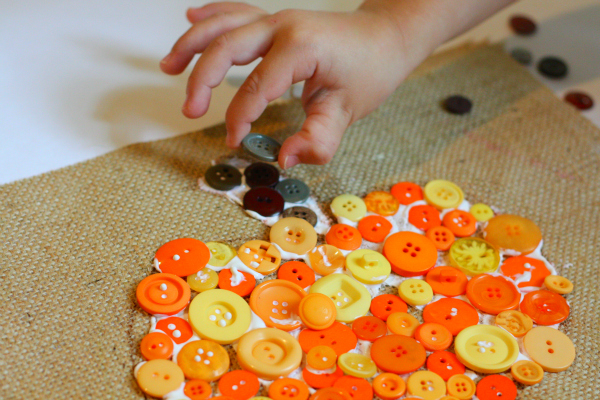
3. Begin gluing buttons down to fill in the pumpkin. Don’t worry about glue showing… it will dry clear! (Note: Glue will seep through the tiny holes of the burlap, so be sure to use something as a backing under your burlap to prevent damage to furniture and table top surfaces.)
4. Allow glue to dry completely.
5. Remove glass from frame. Stretch and secure the burlap onto the frame backing using tape to keep it tight.

Button pumpkin cards
We decided to put the leftover orange buttons to good use and create another easy pumpkin craft! This time, we helped the kids make sweet little cards that would be perfect to give teachers, friends, bus drivers and coaches. They absolutely loved this project!
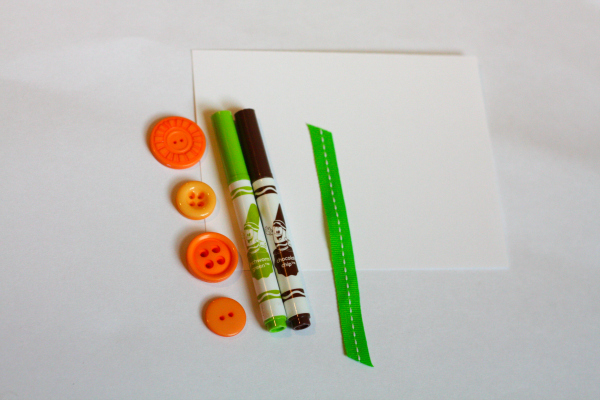
Materials:
1. Card stock
2. Orange buttons
3. Ribbon… green for grass, if you have it.
4. Craft glue
5. Markers
Directions:
1. Cut card stock to the desired size.
2. Glue a strip of ribbon to the bottom of the card as the “grass.”
3. Glue an assortment of orange buttons above the ribbon to create the pumpkins.
4. After the glue has dried, add details like stems, leaves and special messages using markers.