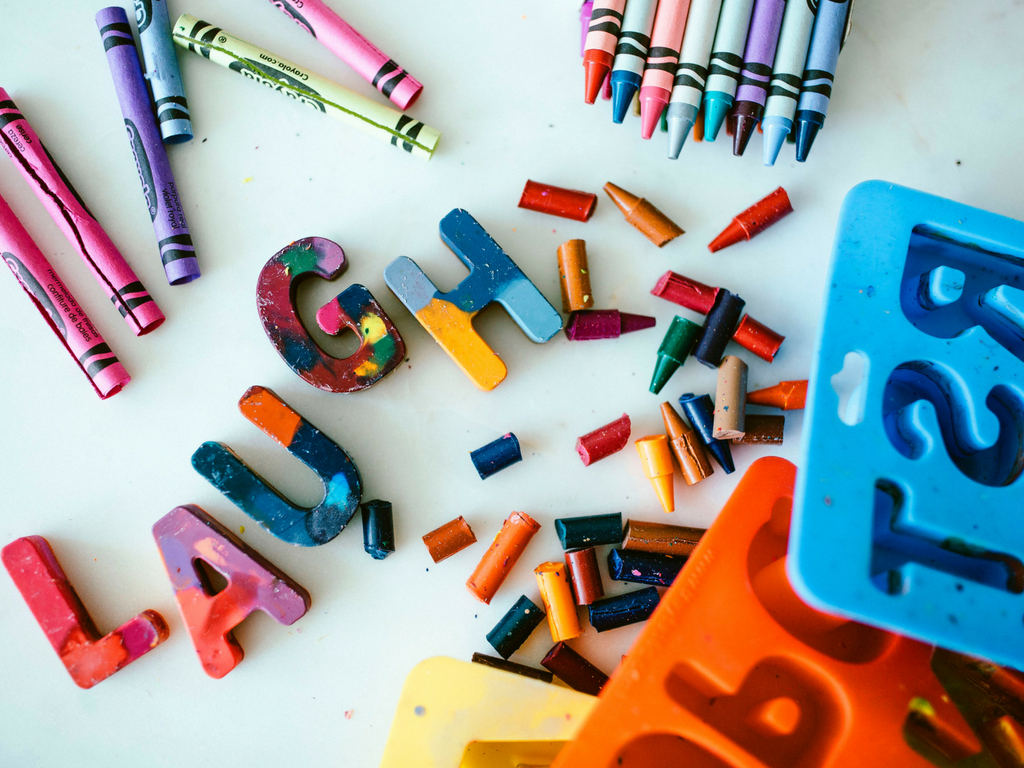
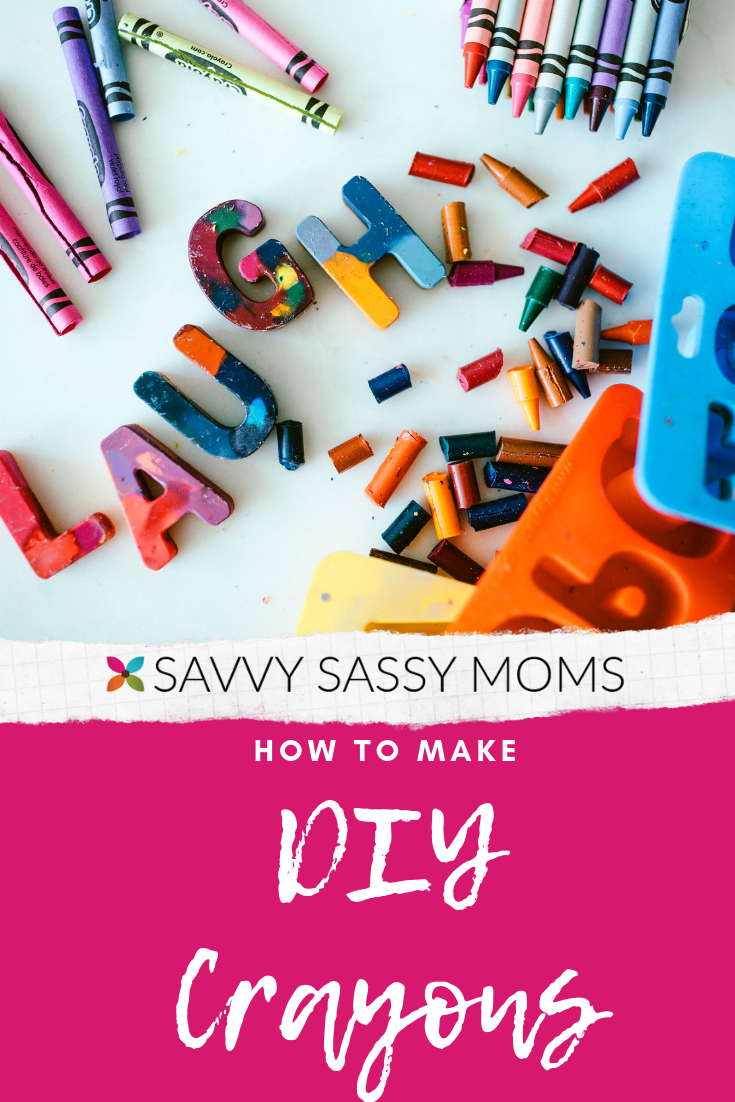
Each year, as the kids birthdays approach, I begin to think about their loot bags. Long before I decide on the venue, I think about the loot bags, how I am going to make them special and possibly how to personalize them. For some reason, I feel like the loot bag is the be all end all of the party…is anyone with me? After all, it is the final impression of the party! DIY letter crayons are all the rage right now and they are easy to make! Follow these easy steps to learn how to make DIY letter crayons.
Here is what you will need to make DIY Crayons:
- Crayons – I went on Amazon to get a lot of crayons for not a lot of money! For about 20 kids, I used under 150 crayons.
- Letter molds – The ones pictured here are not currently available, but these ones work well too!
- clear bags and ribbon to wrap them
-

- Fill the mold to the top.
-

- They will melt to fill half the mold.
How to make DIY Letter Crayons
Each step is time consuming, so make sure you give yourself lots of time to make them!
- Before you begin, write out all of the names on the guest list. Then determine how many of each letter you will need.
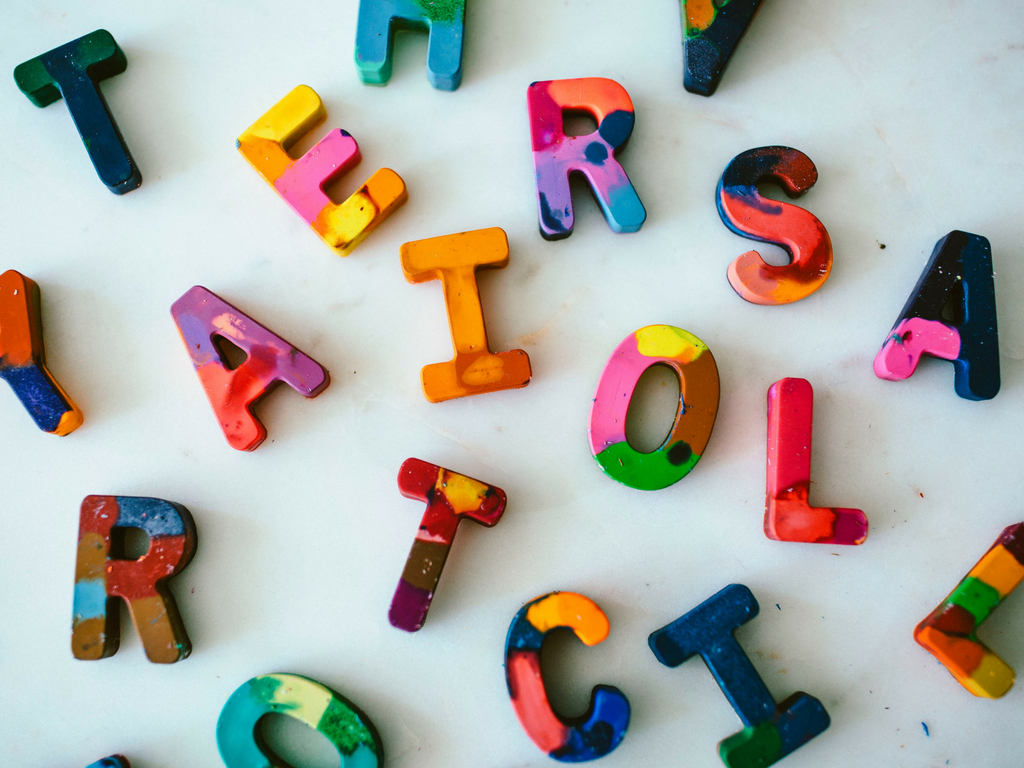
- Then, you will need to choose the colors you want to use. I tried to avoid using black, brown, grey and white.
- With a sharp knife, press down on the crayon length wise to cut a slit in the paper for easy removal. I recommend cutting as many as you can first and then removing the paper after to save time (and to give your hands a break)!
- Once the paper has been removed from the crayons, break the crayons in to 3 or 4 pieces and place them into a bowl.
- Note: If you are making multi-colored letter crayons, throw them all in one bowl. If you want the letters to be solid, then divide them by color to streamline to process.
- Place the broken crayons into the mold. Fill the letters to the top.
- Place the silicone molds on a baking sheet covered in tin foil
- Note: TRUST ME! I learned the hard way! Let me just say that removing melted crayons from your oven, fridge or counter is no fun!
- Bake the crayons at 350 degrees for 10 minutes. Remove them slowly from the oven and let them cool. Place them in the fridge to ensure that they harden before removing them from the mold.
- CAREFULLY remove the crayons from the mold. Letters like ‘S’ and ‘N’ tend to be harder to remove so be patient to ensure they don’t break!
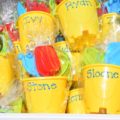
- Place the letters in a clear bag to show off the name and tie with ribbon.
ENJOY!
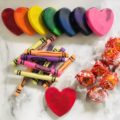
If you want to make these for easter, try making easter egg crayons with this mold!

Comments
Hey Jenna, this great post, thanks!
I have a question, once you place the broken crayons into the mould. how do you ensure it doesn’t spill over?
I found Each step was very time consuming, so i just want to get it right
thnx
http://www.parentalquestions.com
This is amazing – love the color combinations!
Question for you – have you found any particular packing that you like?
Thanks!
Hey Ava,
I placed the crayons in the trays onto a baking sheet so that I didn’t have to worry about about them spilling!
Hey Christina!
What do you mean by packing?
What do you mean when you say, “remove the slowly from the oven” ? Do you mean slowly because they might spill or slowly like take your time taking them out so that they cool off a bit? Thanks 🙂 🙂
Alex
Do you spray the molds before putting the crayons in it
Great question!!! You do not need to spray the molds before you put the crayons in. They don’t stick! Let us know how yours turn out!
When I said slowly, I meant pull them out slowly so that they don’t spill. Mine spilled and it was a terrible mess to clean up!!! Let them cool in the fridge to harden faster!
About how many crayons fill each letter? I want to do all solid colors and trying to figure out how many crayons I need. Thanks!
Hey Jessica,
Not too many…about 2 broken crayons in each letter should fill them up! If you post a photo on socials, tag us! I would love to see how they turn out!!!
Also, if you make them, tag us on socials so we can see how they turn out!
Hello! Do you have a link for the molds?
Hi Bianca! The link is in the post to the molds and I have added it here as well! Let me know how they turn out!
Alphabet molds
Hi!! I bought the molds that you recommended and the R, S, N came out backwards 🙁 any suggestions? When I flip them over, they don’t look as colorful and vibrant 🙁
I would try remaking them with brighter colours closer to the top so that they show up brighter. I didn’t find that they weren’t as bright. Let me know if that helps!
I made some hearts and they have a wax on the top that doesn’t color, have you had that problem
Hi! I haven’t had this happen before. What type of crayons are you using? That might be contributing to the problem.
What do you do with the letter crayons that came out broken? Do you break up again or can you pop back in the same mold and melt again in the oven?
You can definitely pop it back in the over or reuse the broken crayon in a new mold. I just popped them back in the oven when this happened 🙂
Have you ever tried beads, plastic, in these trays? Wanted to add magnets. Thanks
You mean instead of crayons? I haven tried but I would assume that if you have melted them before in the oven then you would be able to use these trays for them. Let me know how it goes!
I used some cheaper crayons and several of them just bubbled up and kept bubble in them. Is it bc they are the cheaper kind?
Maybe it’s possible, but that shouldn’t really affect the outcome. Maybe the heat was too high and that’s why they bubbled. If you make them again, try putting them in on a lower heat and see if that helps!
About how thick were your letters? Mine don’t seem very thick and I’m not sure how they will hold up. I know the kids will really love them.
What brand of crayon do you find is best?
I like to buy the big boxes of Crayola crayons!
I filled the molds to the top with crayons so they were about half the thickness of the molds. With small hands, there were perfect 🙂
I use crayons made the U five time it keeps breaking when I take it out of the mold any suggestions? Only this letter?
Hi Brittany,
The U is tricky and I had the same problem. It can be very frustrating! I would let that one harden the longest and take it out very gently. Try making it a bit thicker as well. You could also try spraying som Pam in the mould before you put the crayons to see if that helps loosen it a bit. I hope they turn out!
After you make the first name, do you have to wash the mold or spray it with nonstick spray before adding more crayons (for the next name) in? Thank you for such a cute, affordable and easy idea!
Nope! Just keep going 🙂 I washed them out when I was done baking all the crayons, but not in between names! Enjoy!