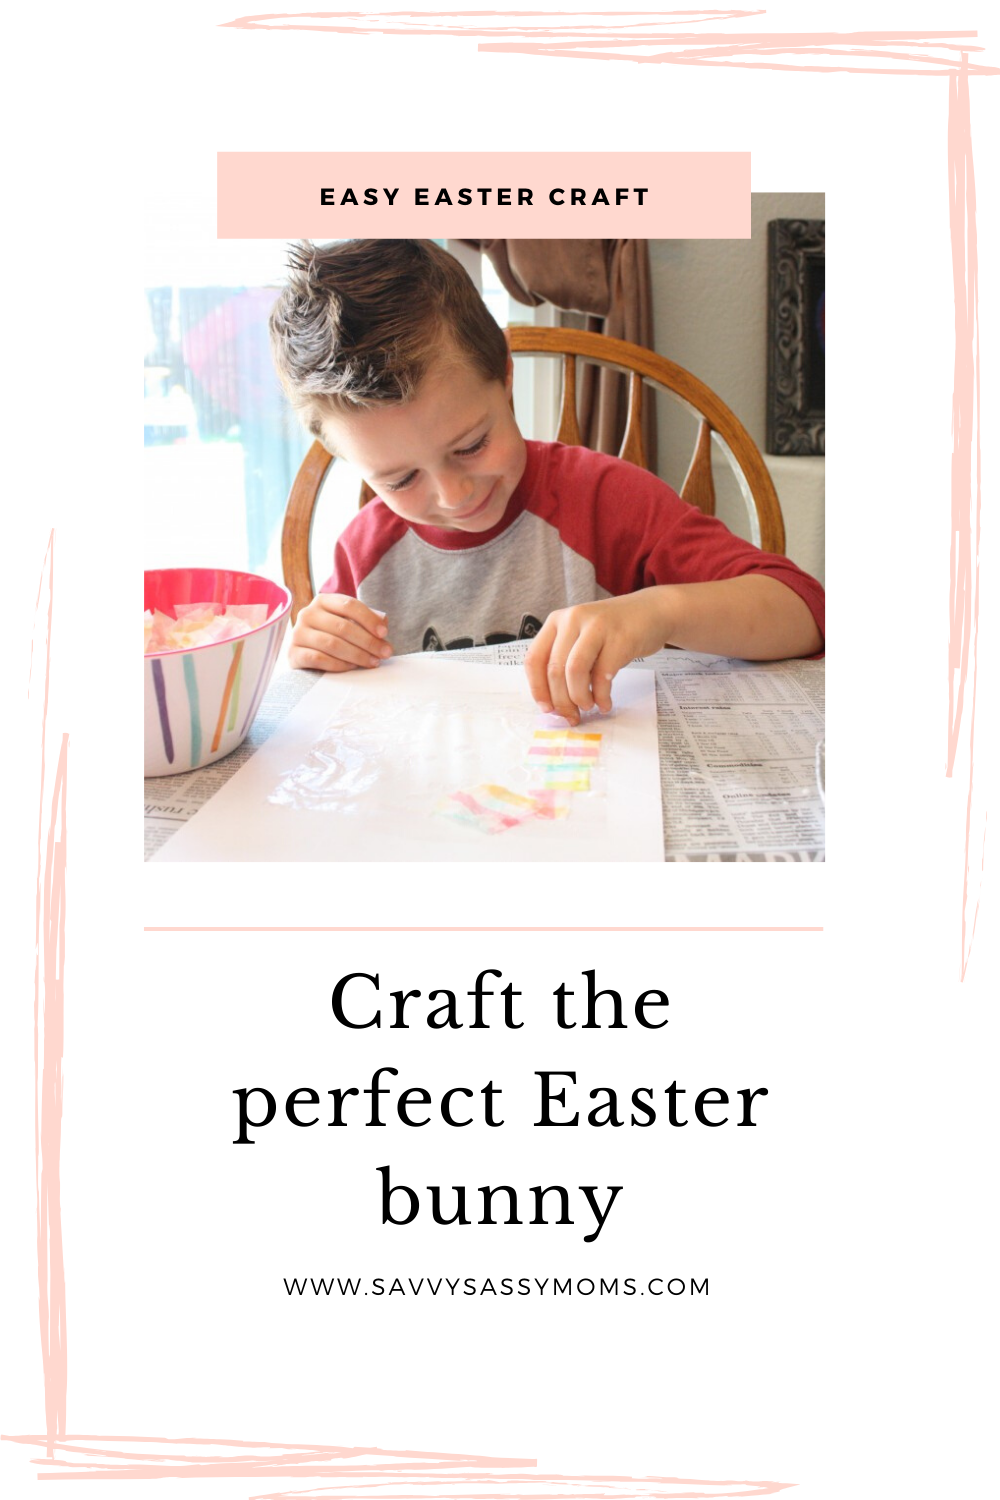
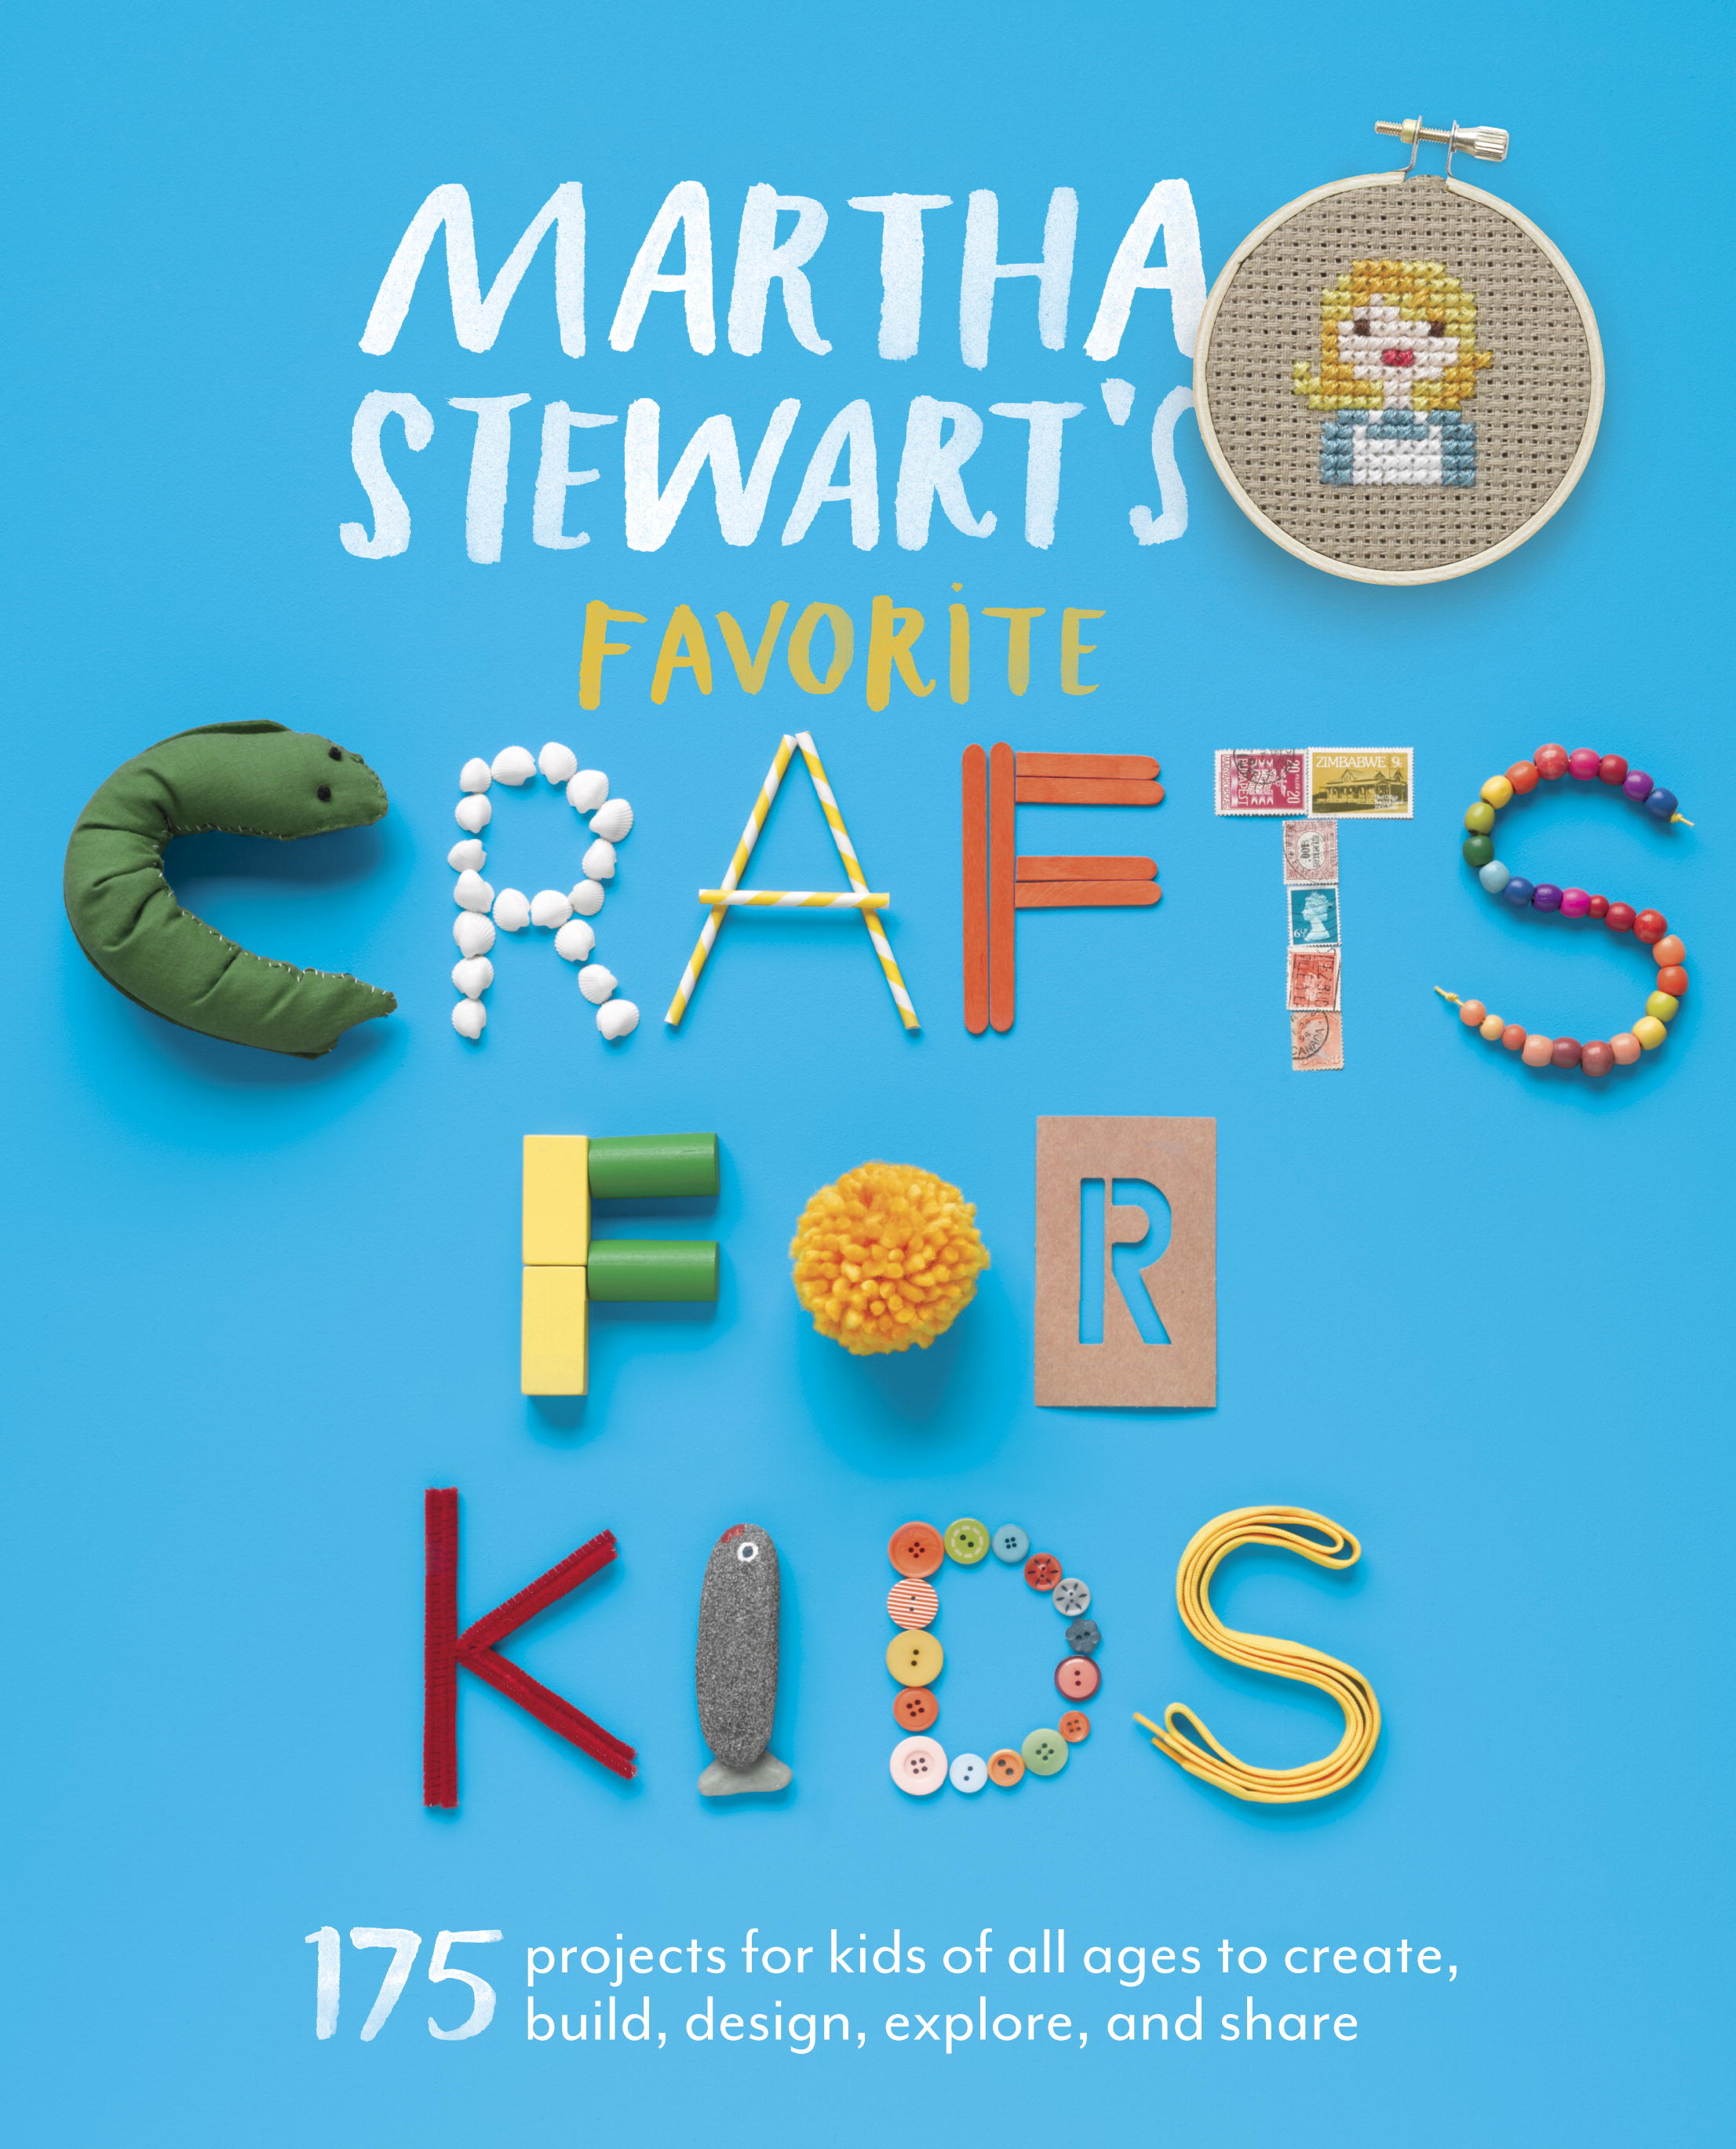
There’s something sweet about the Spring season that lends itself to sweet kids crafts. Now more than ever, we are all looking for fun and east activities to do at home each day. Since Easter is just around the corner, this is one of our tried and true easy Easter Crafts. You can also add it into your homeschool schedule and the kids will love it!
This Easter Craft: tissue bunny sun catchers, is relatively easy to do and this craft can be created in almost any shape imaginable, so if you don’t get around to it now, repurpose the craft for a different theme. Since the craft was created with Easter in mind, we did it in the shape of a bunny! With that said, this would make a cute craft as a rainbow or any other colorful shape!
What you need for this Easter Craft
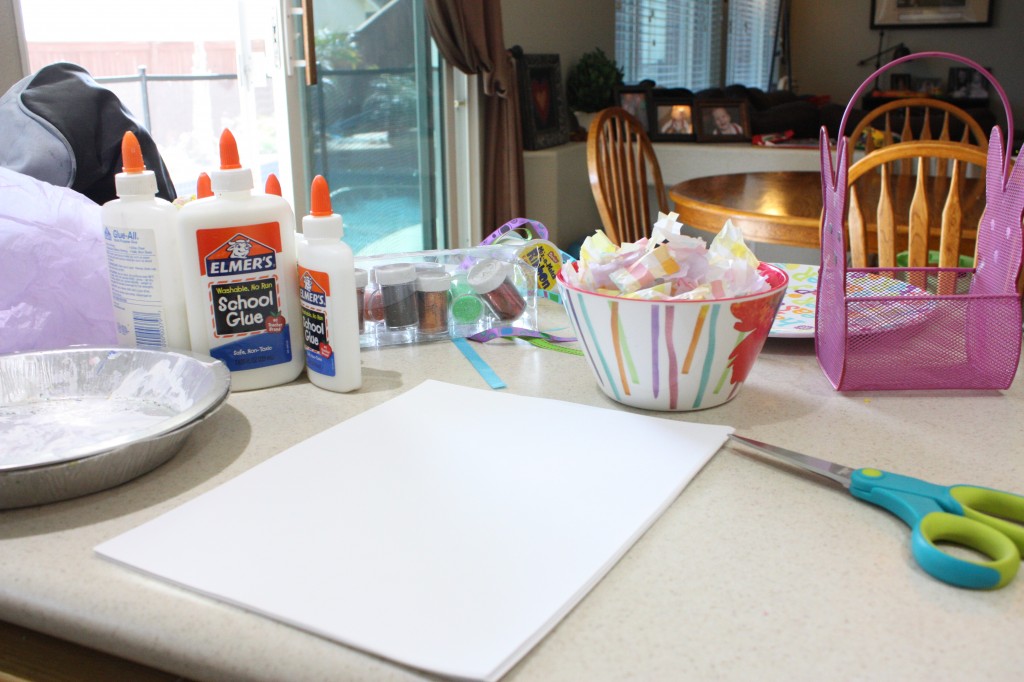
It’s very likely that you have many of the things you need for this craft lying around the house. Everything on this list is easy to find, or you can have them shipped direct to your door! Drawing is not at the top of the our skills list, so we used a stencil, but you can definitely free hand it, or print a stencil from the internet! Here’s what you need:
- Colored tissue paper – For this craft, we used pastel colored checkered tissue paper, but we recommend getting a value pack with a variety of colors so that you can re-create this craft time and time again!
- Glue
- Paintbrushes
- Cardstock
- Wax Paper
- Yarn, ribbon or twine
- Shape stencil
- Scissors
How to make a Sun Catcher for Easter (or any other holiday)
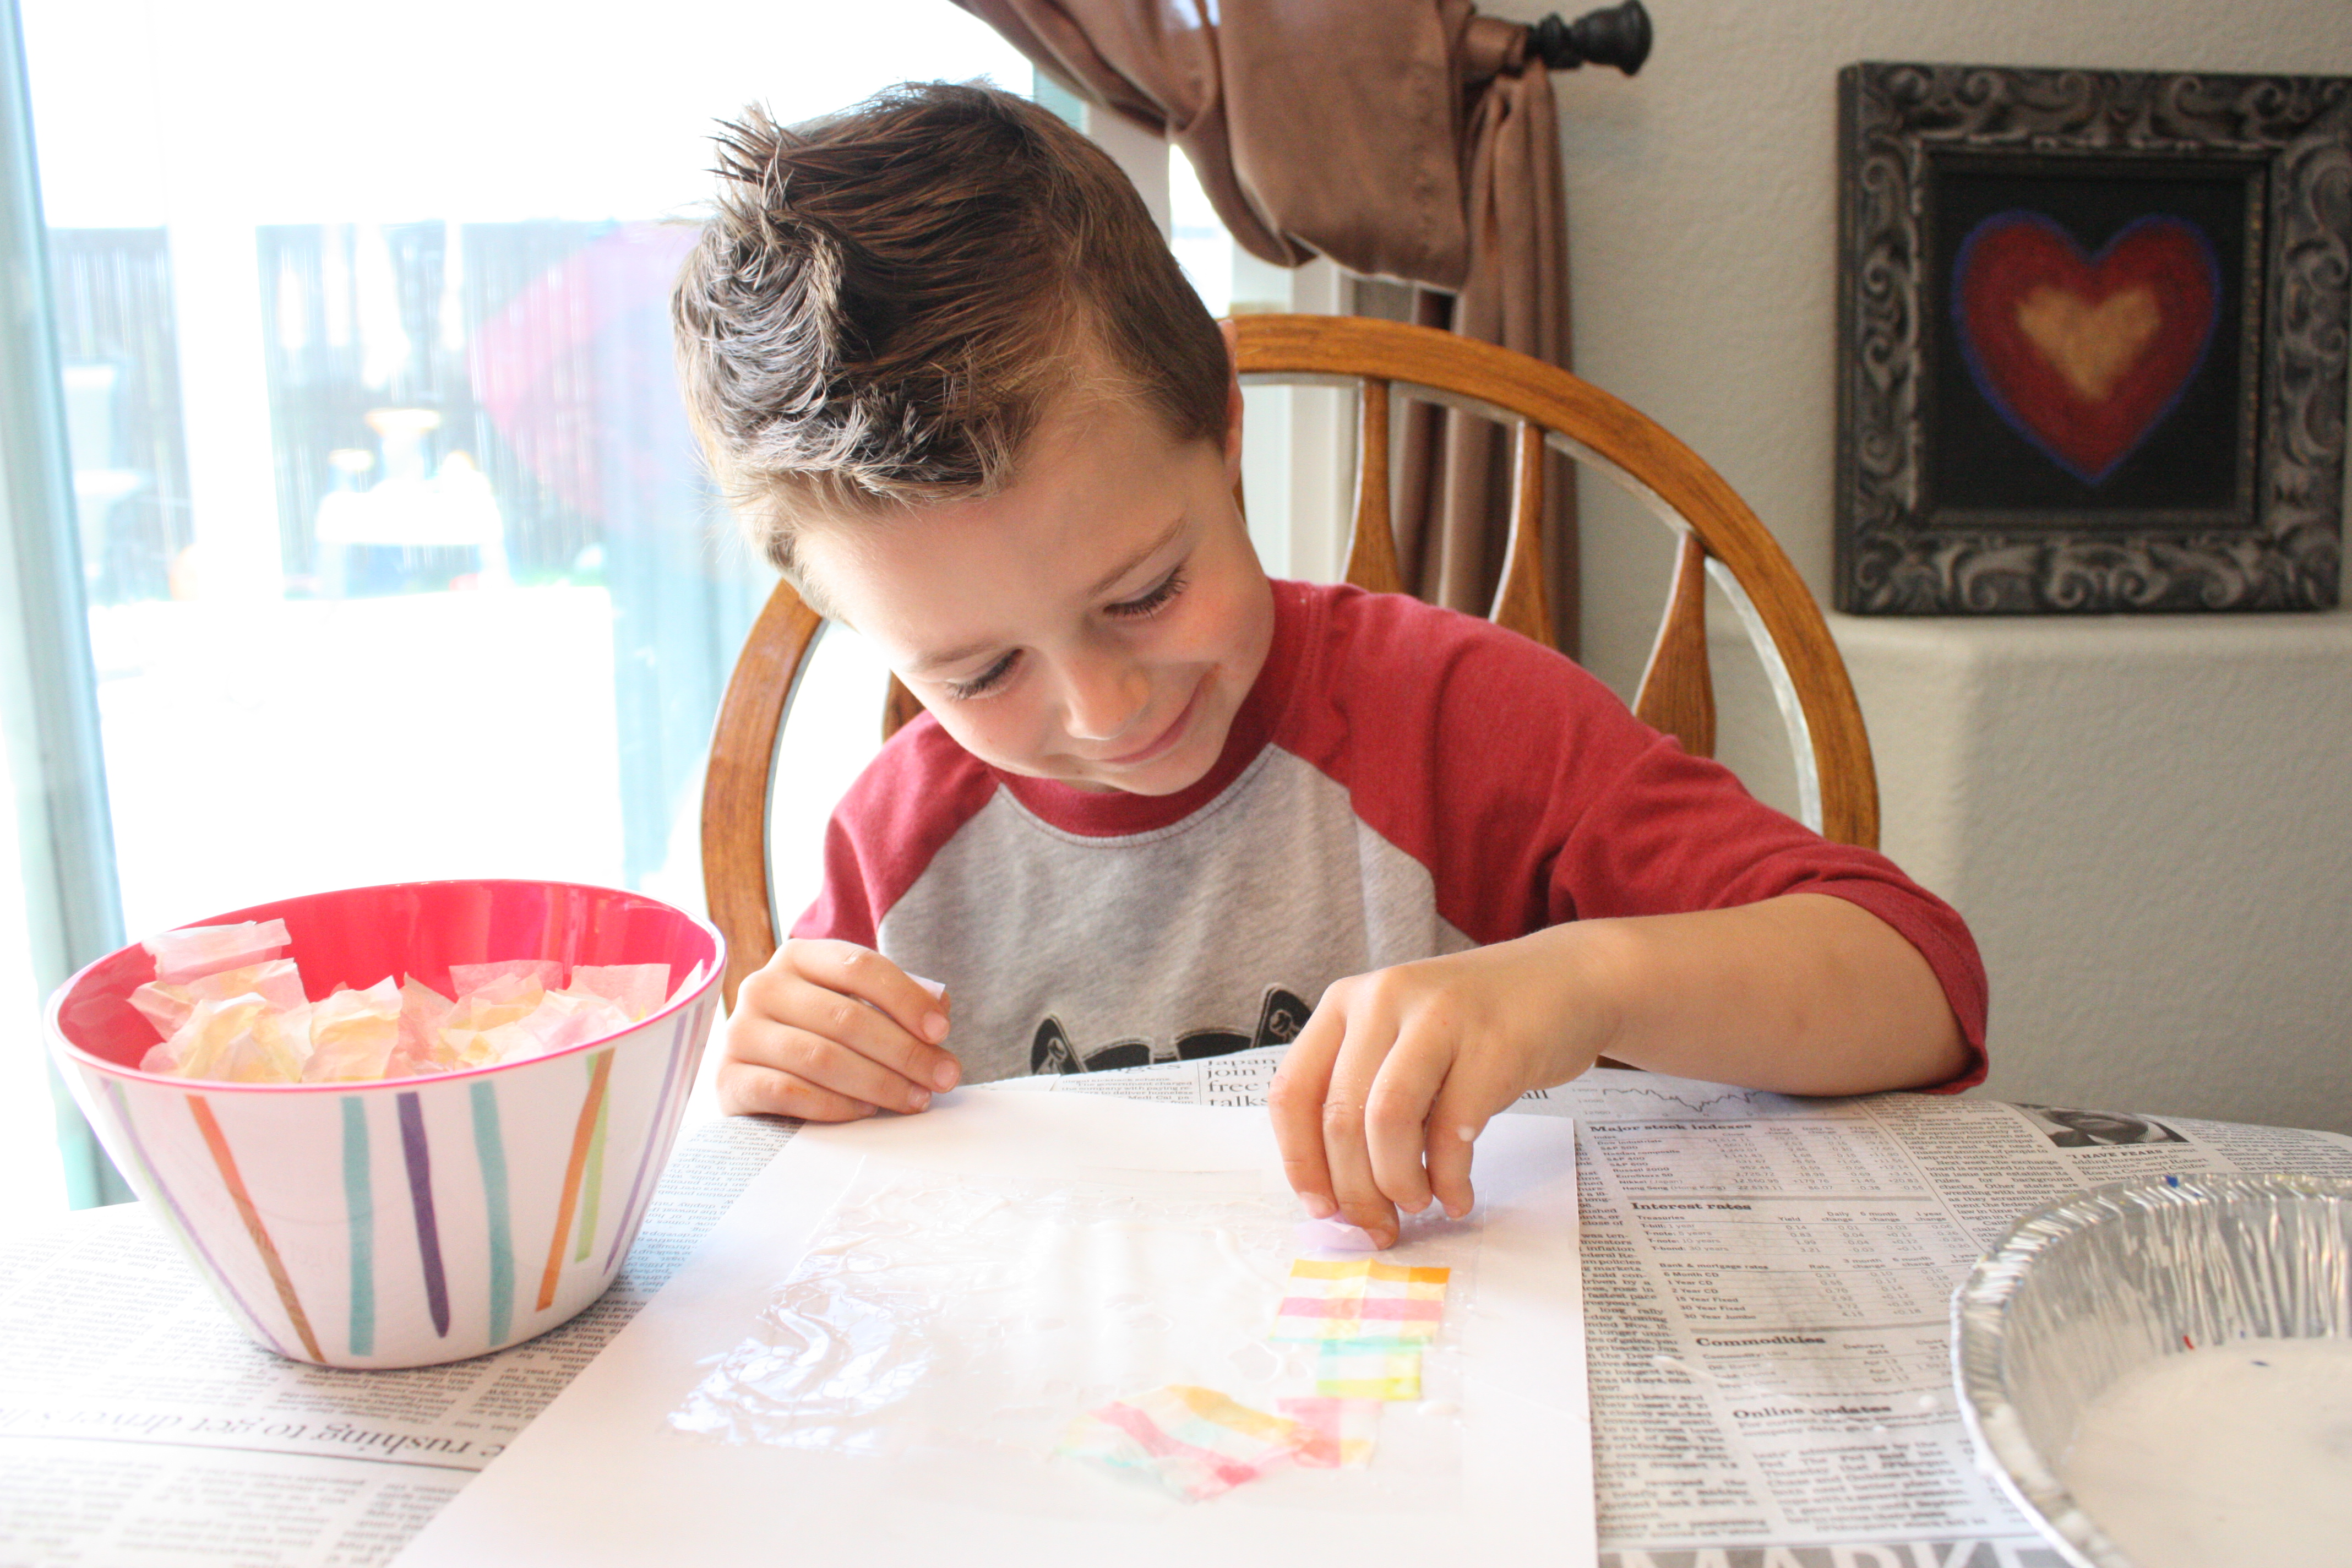
1. Mix white glue with a few drops of water in a bowl, dish or pan. I keep a few old pie pans in our crafting supplies for these kinds of crafts. If you’re crafting with small children, cover the table surface with newspaper.
2. Create your shape frame using a stencil. I drew an identical shape on the inside to create a shape “frame”.
3. Tape a square sheet of wax paper down to the newspaper to prevent slipping.
4. Brush a thin layer of white glue onto the wax paper.
5. Place squares of tissue paper on the glue, overlapping in the corners.
6. Brush a thin layer of white glue on top of the tissue paper squares.
7. Sandwich with another sheet of wax paper. Let dry.
8. Place your shape stencil on top of the dried wax paper and trace it.
9. Cut out the shape frame. (Cut out the inside of the shape approximately 1/2″ therefore creating a bunny frame)
10. Cut out the shape in the wax paper.
11. Tape tissue paper shape onto the shape frame.
12. Hang with yarn, ribbon or twine.
A Few More Steps for this Easter Craft
Cutting out the tissue paper into squares was the most tedious aspect of this craft.

My son is 6 years old and he thought this craft was awesome! This craft is great for kids of all ages. The older they are, the more detail they can add to their bunny!

Once you have applied all of the tissue paper squares onto the wax paper, apply another thin layer of glue on top of them and be sure to use soft strokes so you don’t tear the wet tissue paper:

When the tissue paper is drying, cut out your shape frame. The outside shape is what was created from the bunny basket stencil so I drew the identical inside shape. After that, I cut along the inside and outside shape to create the shape frame. As a result, it’s ok if you mess up a few times, I certainly did.

Then, trace the bunny shape onto the dried wax/tissue paper and cut it out.

Tape the tissue paper onto the back of your shape frame:

Hang with twine, or hang it in the window!

Happy Easter!
Comments
Pingback: "That's Some Bunny Tissue Paper Sun Catcher" - Savvy Sassy Moms
Pingback: Cute Spring/Easter Crafts! | Those Young Moms
Pingback: Fun Spring Crafts For Preschoolers