With both my boys, I’ve made the bulk of our baby food. And, both times, I’ve been surprised at some of the reactions I get about that–many seem to think it’s quite the undertaking, but I assure you, it’s not.
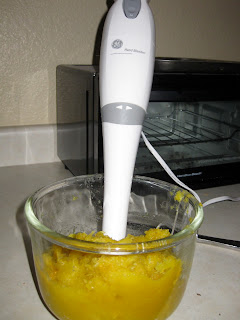
- You need a food processor or those expensive baby food machines. Not so!! I don’t own a food processor (though I would love to!), nor do we have any of those fancy baby food machines. I have a hand blender that I use, but you could even use your regular blender.
- It takes a long time to make. Again, not so (well, depending on your definition of long I guess)! Depending on what (& how much) I was making, it took me less than 30 minutes to puree, fill trays, and clean up.
We started with orange “veggies” first (yes, squash is technically a fruit), then green, then fruits. Squashes and yams are perfect–and even, better, you can often find them on sale for very low prices.
- Cut the squash in half & scoop out the seeds. (The yam wasn’t cut when it went into the oven, just holes poked in it…it got cut in half when I was checking to see if it was done).
- Bake them at 350 for about 35 minutes (baking time can vary greatly depending on the size of the squash).
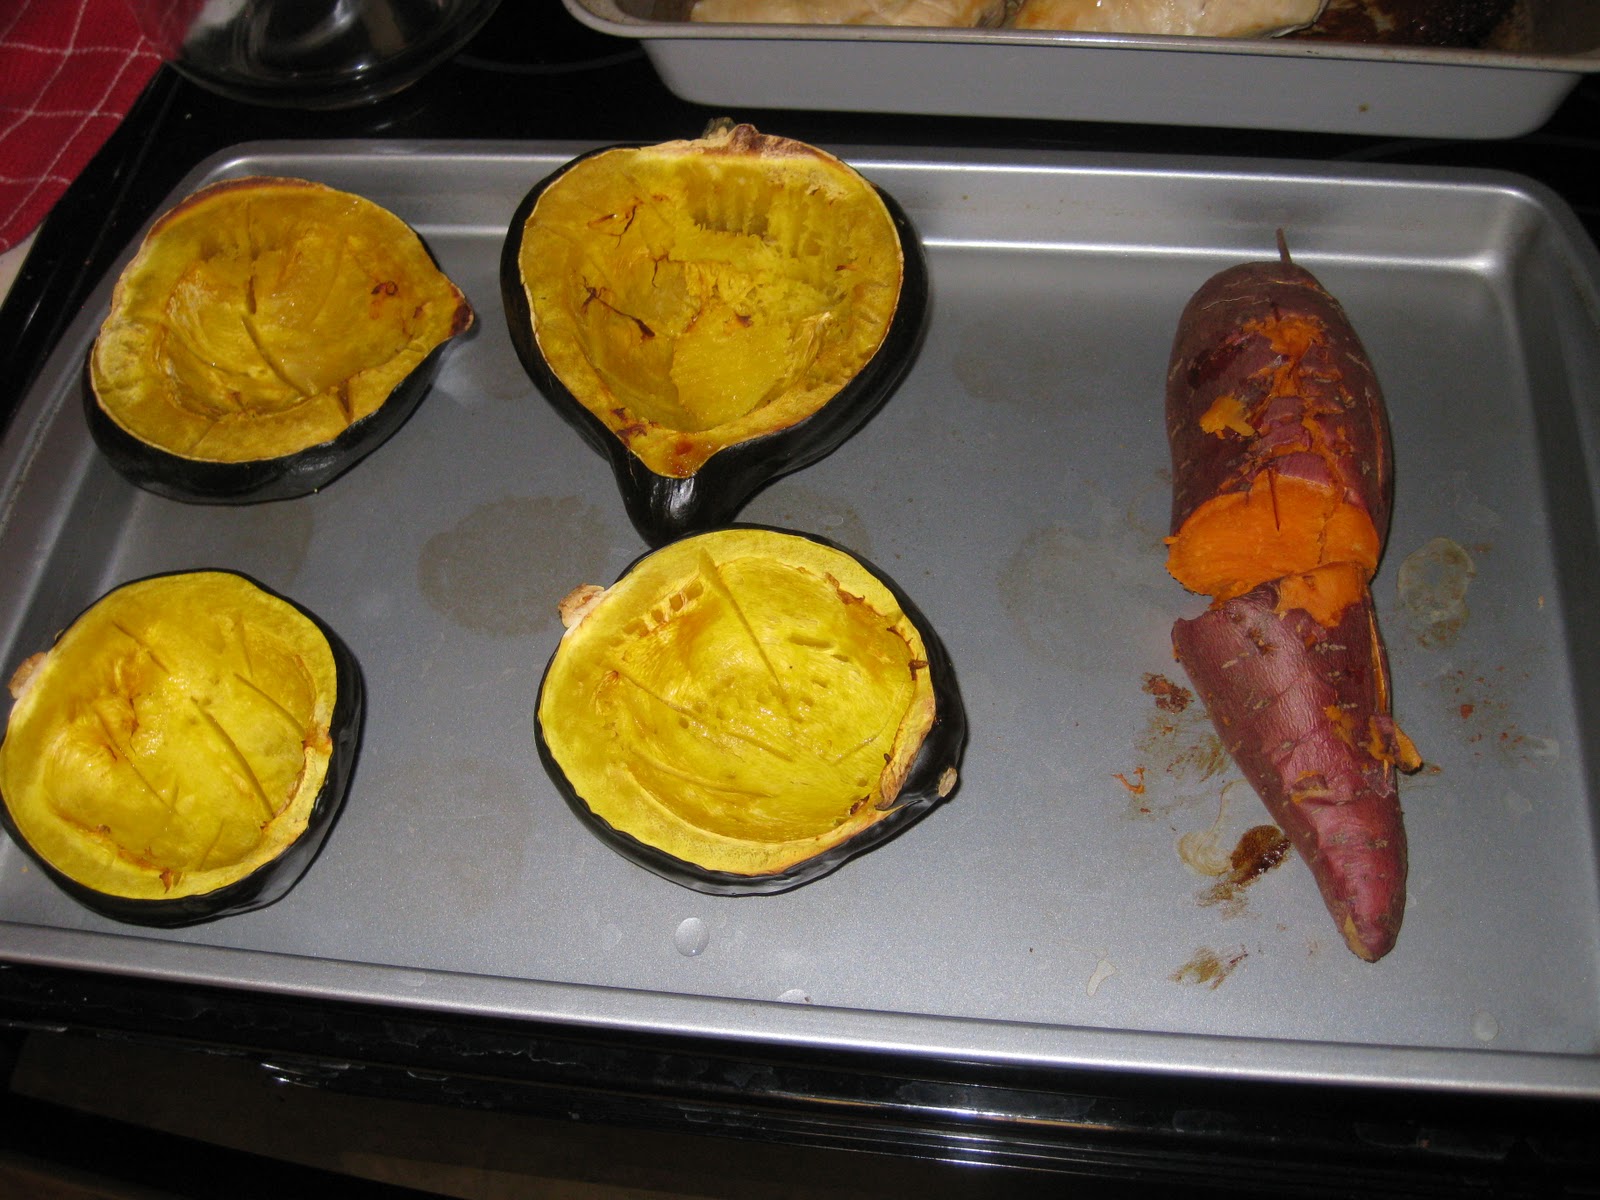
Once everything is fork tender, take it out and let it cool just until it can be handled safely. Scoop out the insides of all the squash and place it into a medium sized mixing bowl.
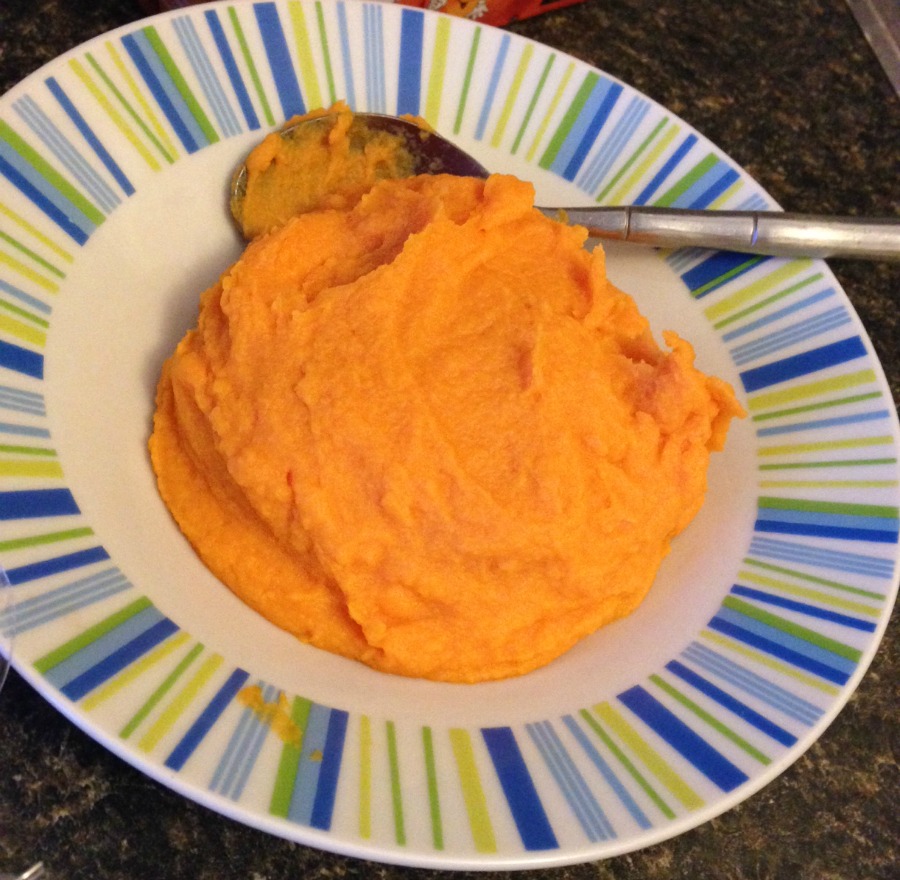
To puree, use a blender. (In the early stages of baby food eating, I add a little water to make the texture smoother).
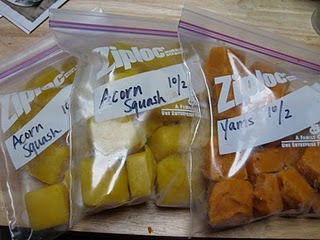
Once you have the desired texture, scoop into containers, and freeze.
With my oldest, I used ice cube trays to freeze. But, the second time around, I wanted something a little more functional. And, I found a seemingly unlikely solution…Wilton’s Bite-Size Squares Silicone Baking Pan! It’s much more versatile than ice cube trays (since we have an ice maker & don’t need them) and the food comes out MUCH more easily. If you fill each well completely full, it is 1 oz. So, you can fit about 24 oz. in each pan.
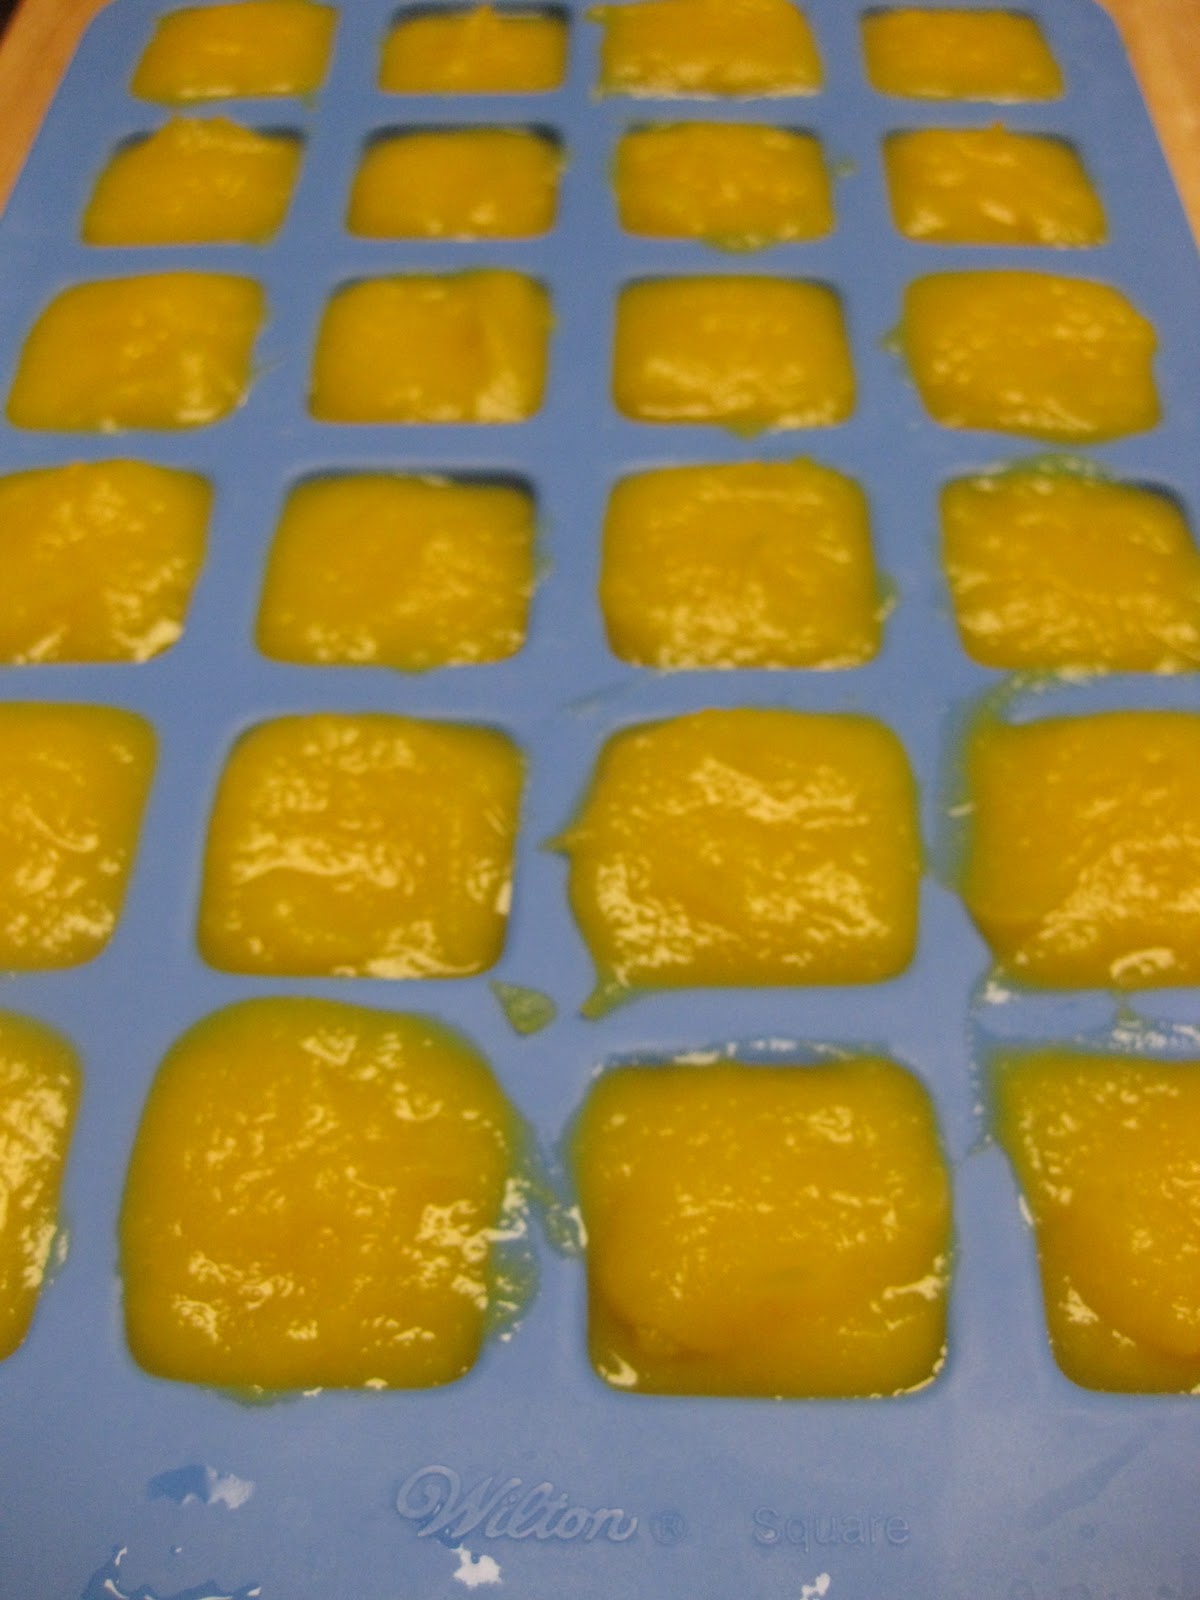
After filling the pans & freezing (it only took mine a couple of hours to be solid), just pop them out and place into baggies or other containers!
 And, voila, homemade baby food!! Easy, healthy, and SO much cheaper than store bought!
Do you make your own baby food? Please share your Savvy Sassy Tips here!
You May Also Enjoy:
 NurturMe dried baby food
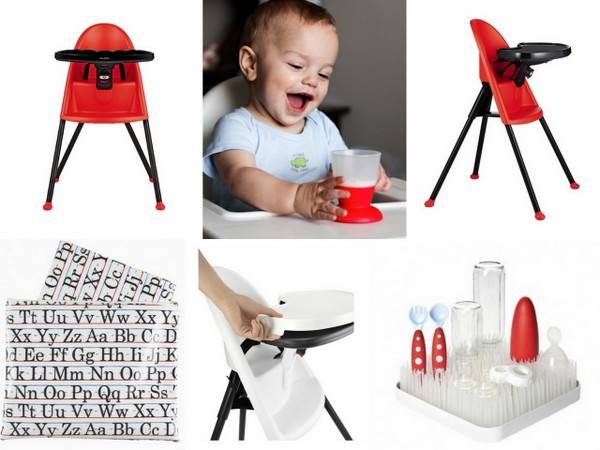 BabyBjörn High Chair and Feeding Time Favorites
 Healthy homemade baby food made easy
 The importance of family meals with Plum Organics {giveaway}
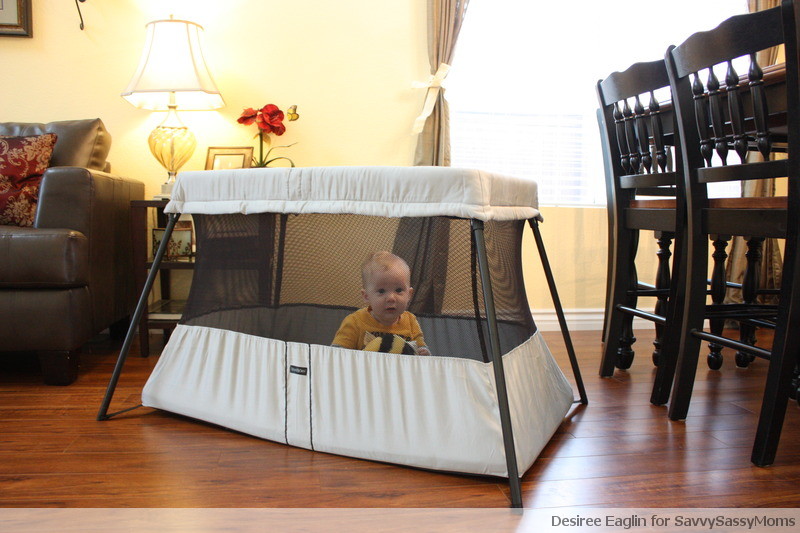 Traveling with Baby is Easy with the BabyBjorn Travel Crib Light 2 {Giveaway}
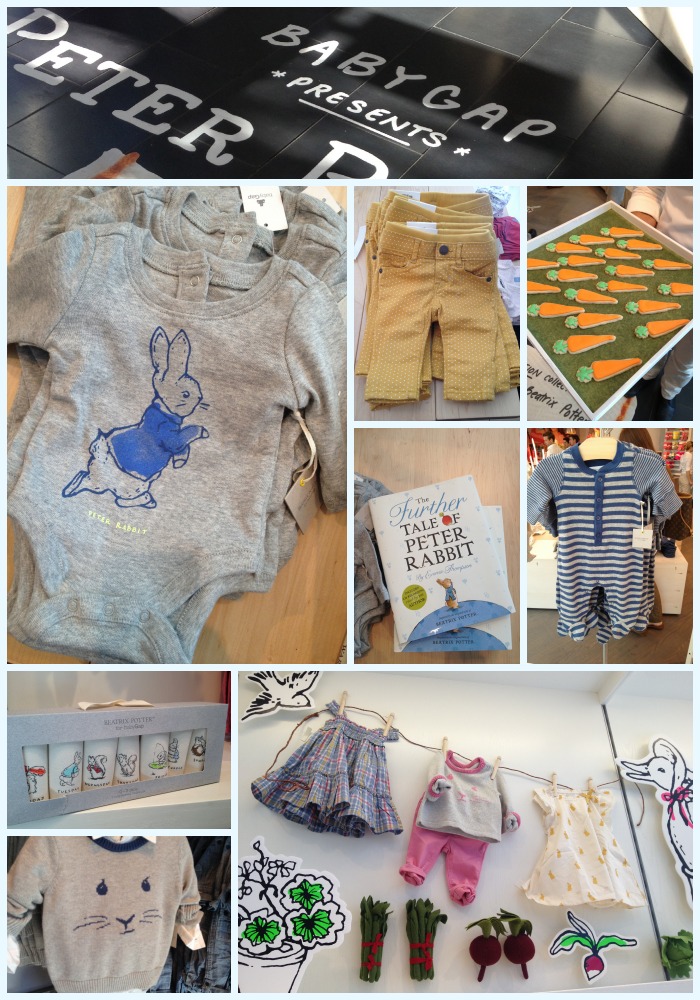 babyGap launches new line of limited edition Peter Rabbit inspired clothing
Comments
With my now 6 year old I had great aspirations to make baby food! Hopefully with baby number two I will have more luck. Thank you for making it sound possible