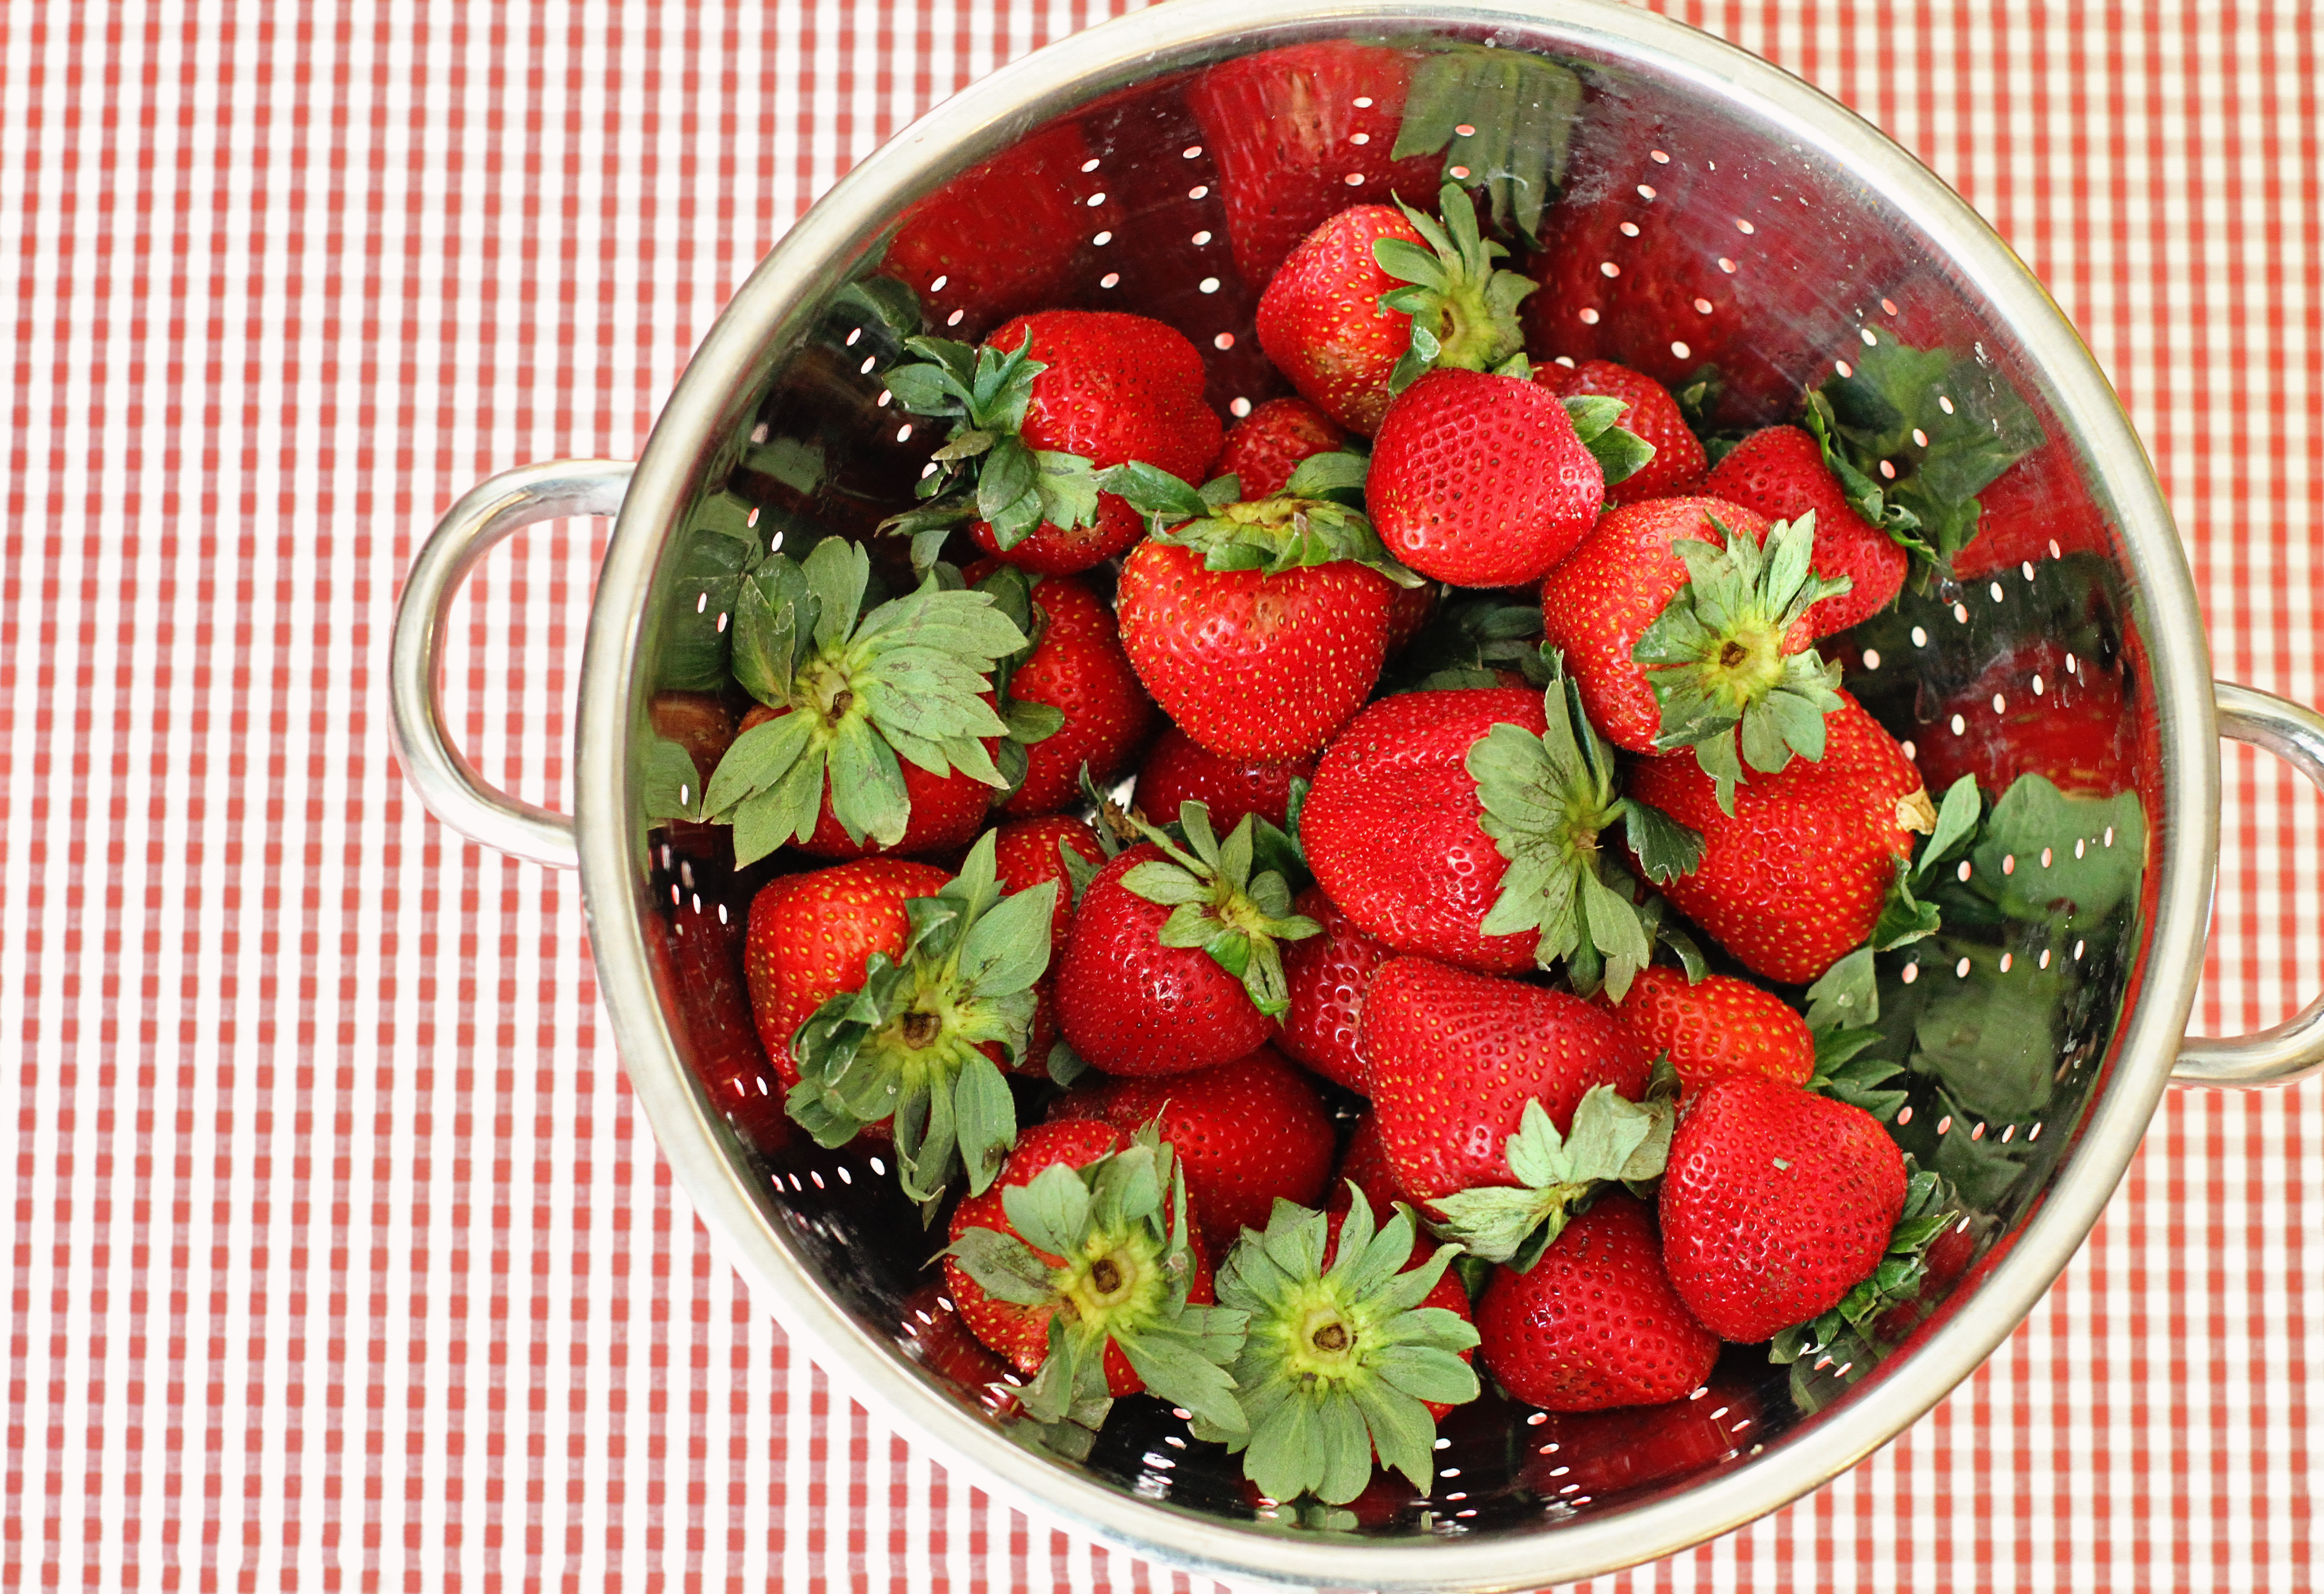
 It’s officially strawberry season across the country and everyone is going strawberry crazy these days. If you’re lucky enough to live close to a pick-your-own strawberry farm, we highly recommend you take your kids on a fruit picking adventure. Dress them in clothes you don’t mind getting stained and let them run wild and eat their hearts out right there in the fields. Hopefully you’ll end up with a basket full of fresh strawberries that you can easily turn into homemade strawberry preserves, which we’ll help you perfectly make, package and label, ready to present to any friend, neighbor, co-worker, or party hostess.
 Not your mama’s canning tips
If you’ve never made jam or canned before, it can seem intimidating. However, I’m here to walk you step-by-step through the process and reassure you that it’s much easier than it sounds. Making preserves is super simple — you don’t need fancy equipment or expensive ingredients. Everything can be found at your local grocery store. And, canning doesn’t require hours of sweating over your stove or take all day long, either. This is the modern mama’s method of canning jam. Trust me… try it once and you’ll be surprised just how easy it is.
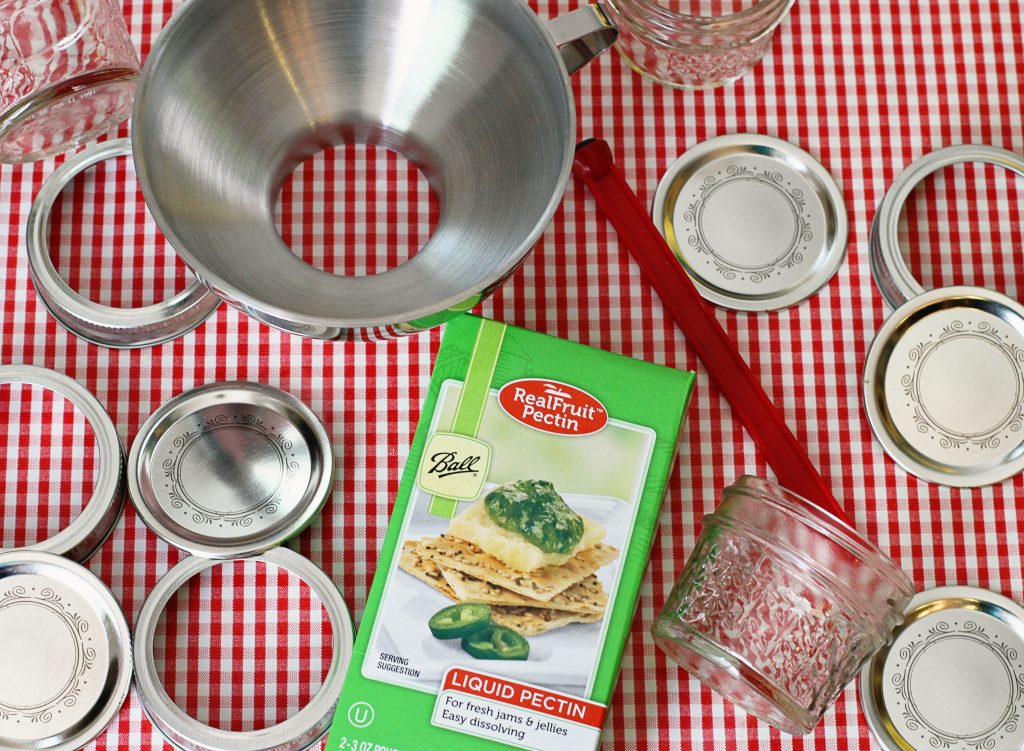
The only products you really need for canning are the jars, lids and rings. For jam or preserves, I personally love using the small 4 ounce Bell quilted crystal jars. These are such a cute size for gifting and come in a box of 12 for about $9 (includes the jar, lid, rings and labels). There are also a few tools that are helpful, but not necessary for canning, including a canning funnel, a magnetic lid wand and liquid fruit pectin. A wide-mouth canning funnel is the perfect size for the mouth of canning jars and a magnetic lid wand is nice to have so you don’t burn your fingers, but neither or necessary. Liquid fruit pectin is a kind of preserved apple syrup, which helps set up jams and jellies. This is sold in your local grocery store and comes in a box with two 3-ounce pouches for about $5. It’s helpful for jams made from fruits (like strawberries) that are naturally low in pectin, but not necessary and if not used, you’ll just have runnier preserves (they’ll still taste great).
 Sterilizing your jars
Before you put anything into your jars, you need to sterilize them. Years ago, when my parents canned fruits and vegetables from our garden, they would boil the jars in a giant pressure cooker on the stove, then carefully remove them with tongs, trying not to spill boiling water all over the place. These days, most of us have a giant sterilizing machine in our kitchen — the dishwasher. All you really need to do to sterilize your jars is run them through the dishwasher on high heat.
If you don’t have a dishwasher or just want to do it the old-fashioned way — break out your biggest stock pot and submerse the jars in boiling water for 15 minutes. Either way you do it, place the clean jars upside down on a clean kitchen towel until you’re ready to use them. This should be done the day you will be canning and no earlier. Lids should be boiled in a small sauce pan on the stove top for 4 minutes, right before canning begins.
 We’re jammin’
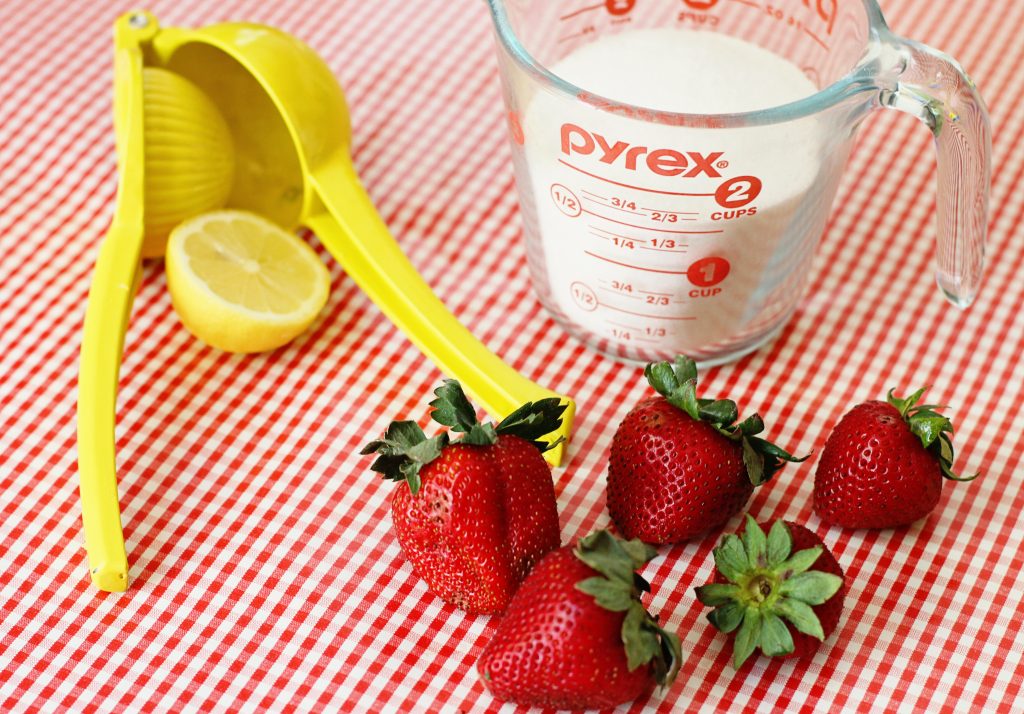
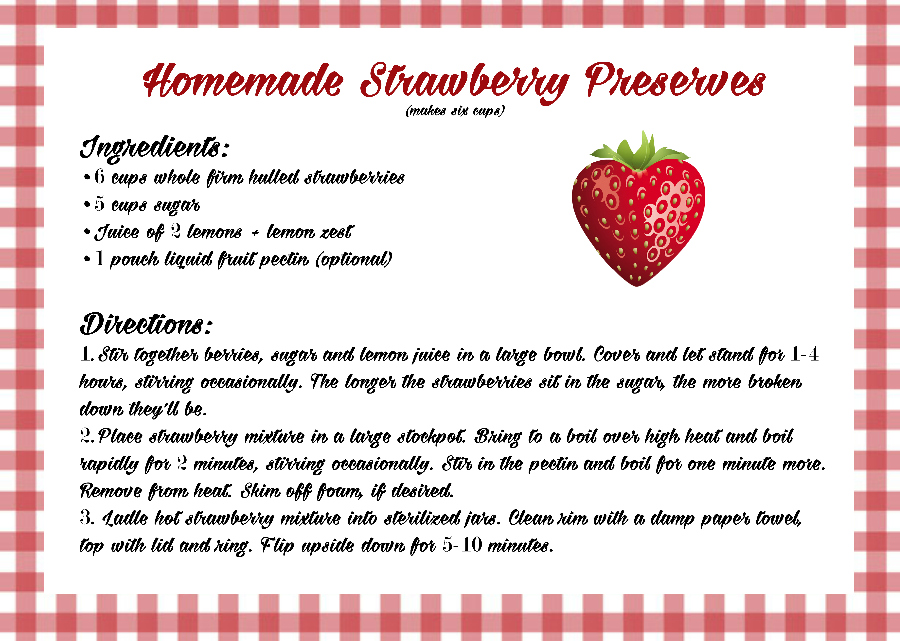
You’re going to be shocked how easy it is to make preserves. Once you have your fresh strawberries cleaned and hulled, throw them in a bowl with the sugar, lemon juice and zest. It might sound like a lot of sugar, but the sugar is the preservative and helps thicken the juices. Let the mixture sit covered with a kitchen towel for 2-4 hours, stirring occasionally. The longer the mixture sits, the more the strawberries will break down, so if you like super chunky preserves, stay on the shorter end. Transfer the mixture to a large stockpot, bring to a boil over high heat, and boil rapidly for 2 minutes, stirring occasionally. Stir in the liquid pectin, then boil for an additional minute. Skim off the foam, if desired.
 Hot seal
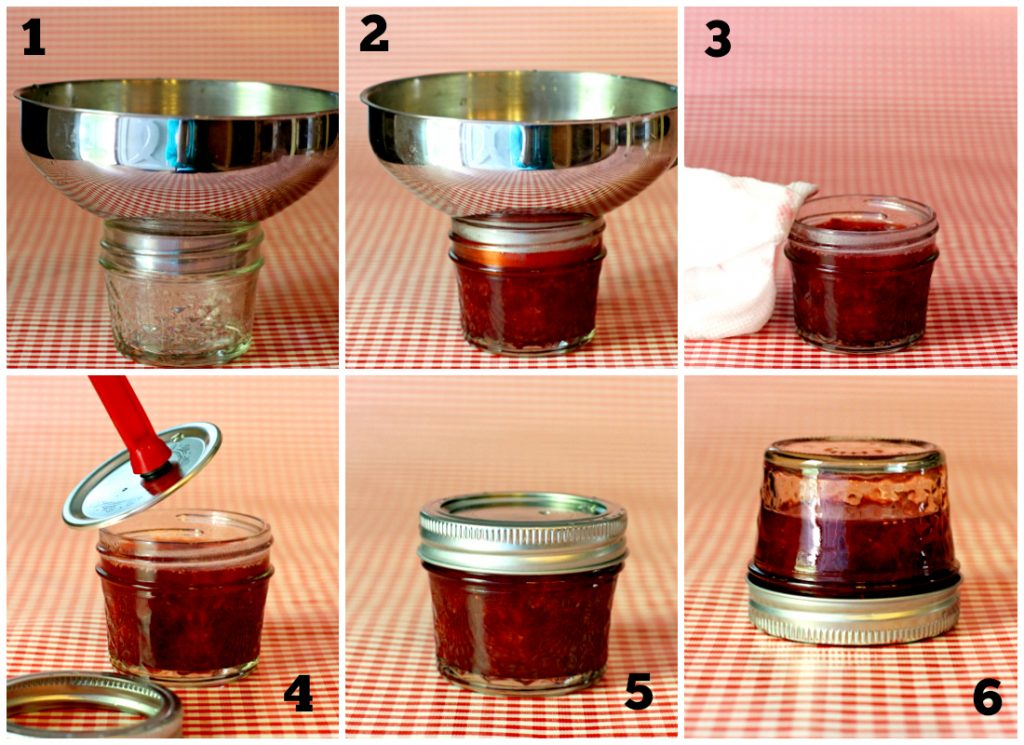
Getting a proper seal on your jars is the most important and trickiest part of canning. While our parents may have used a hot water bath or pressure cooker method for sealing jam, us modern mamas have a new and improved (and super easy) technique called the hot seal method. This method works best on jams, jellies and other high acidic items that have been cooked. While your preserves are still hot, fill the sterilized jars with the preserves, leaving about ½ inch from the top with the mixture. Take a damp paper towel and wipe all the way around the rim of the jar, making sure there is nothing on there to prevent a proper seal or allow bacteria to grow. Place a sterilized lid on top of the jar and tighten with a ring. Flip the jar upside down and let it rest for 5-10 minutes. The heat of the mixture will suction the lid right to the jar and you’ll start hearing the lids pop seal themselves. Turn the jars over and check the seals. If the small circle in the middle of the lid isn’t depressed, push it down to seal. If it doesn’t seal within a few hours, put in the fridge and eat right away. Otherwise, sealed preserves can last 18 months to 2 years unrefrigerated (the more sugar you use, the longer the shelf life). Once opened, the preserves should be refrigerated and should last about a month.
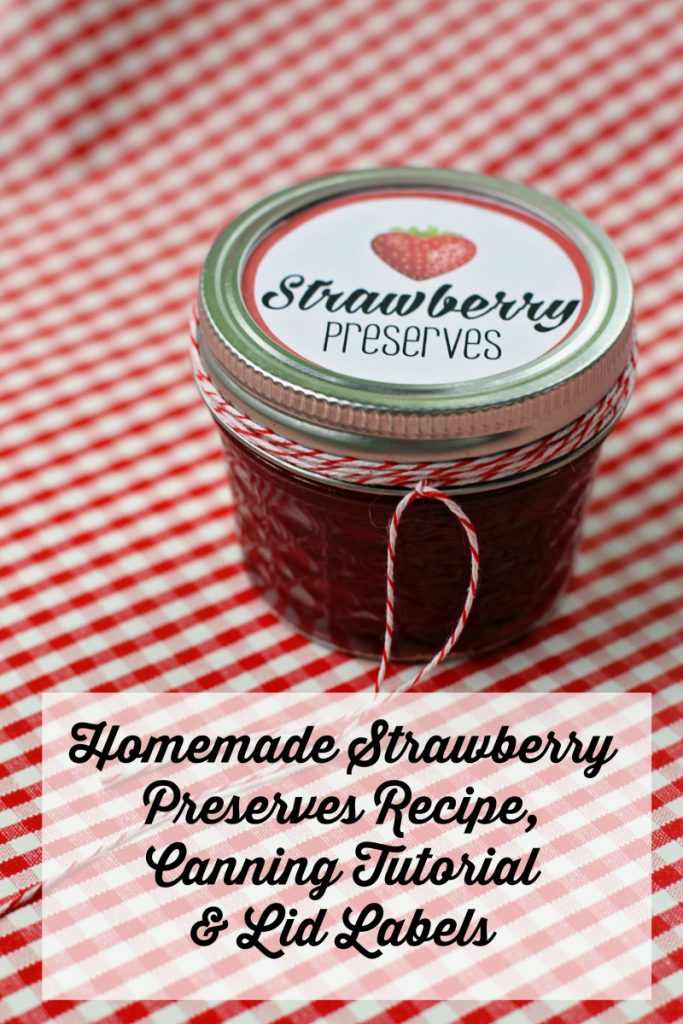
 Free printable homemade strawberry preserves lid labels
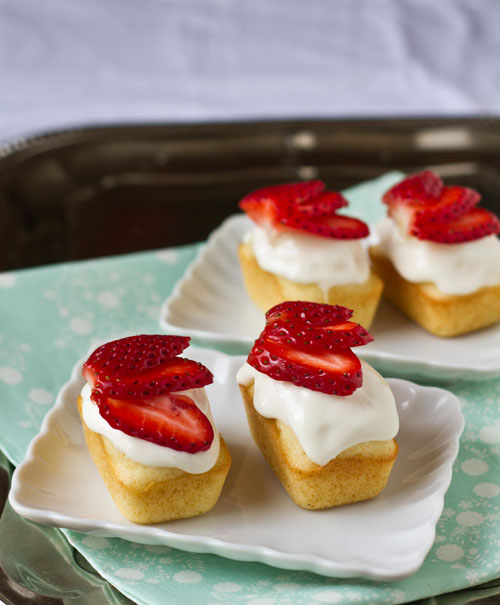
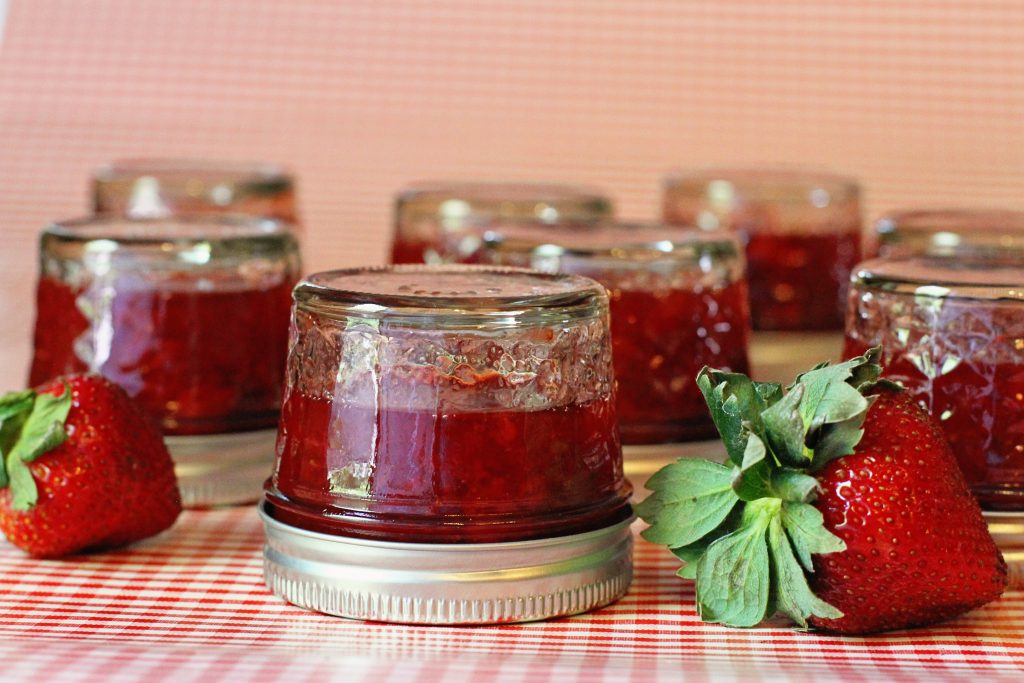
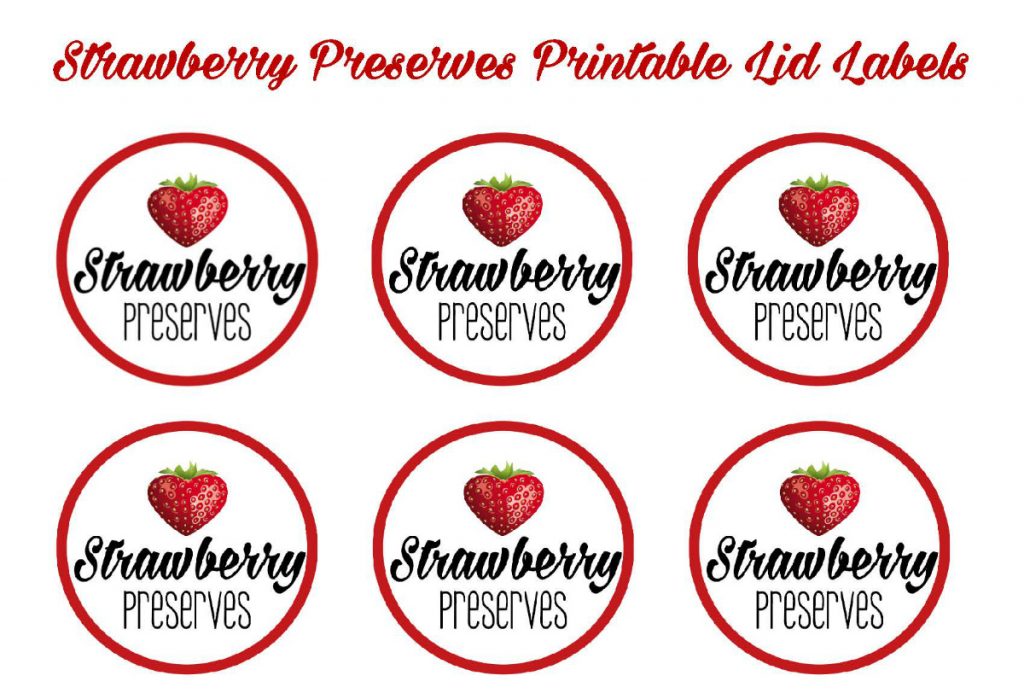
While homemade strawberry jam is incredibly delicious and your kids will beg you for more, one of the best parts about making homemade preserves is being able to gift it to others. The feat of canning alone is impressive, but throw in a beautiful label (link below) and some baker’s twine and you’ve got the sweetest gift around. This is perfect for teachers gifts, hostess gifts, holiday gifts, party favors, or for welcoming a new neighbor. Strawberry preserves can be used on biscuits or toast, served over ice cream or waffles, mixed into yogurt or on a cracker with cream cheese. Enjoy!
Click here for the free full-page printable lid labels