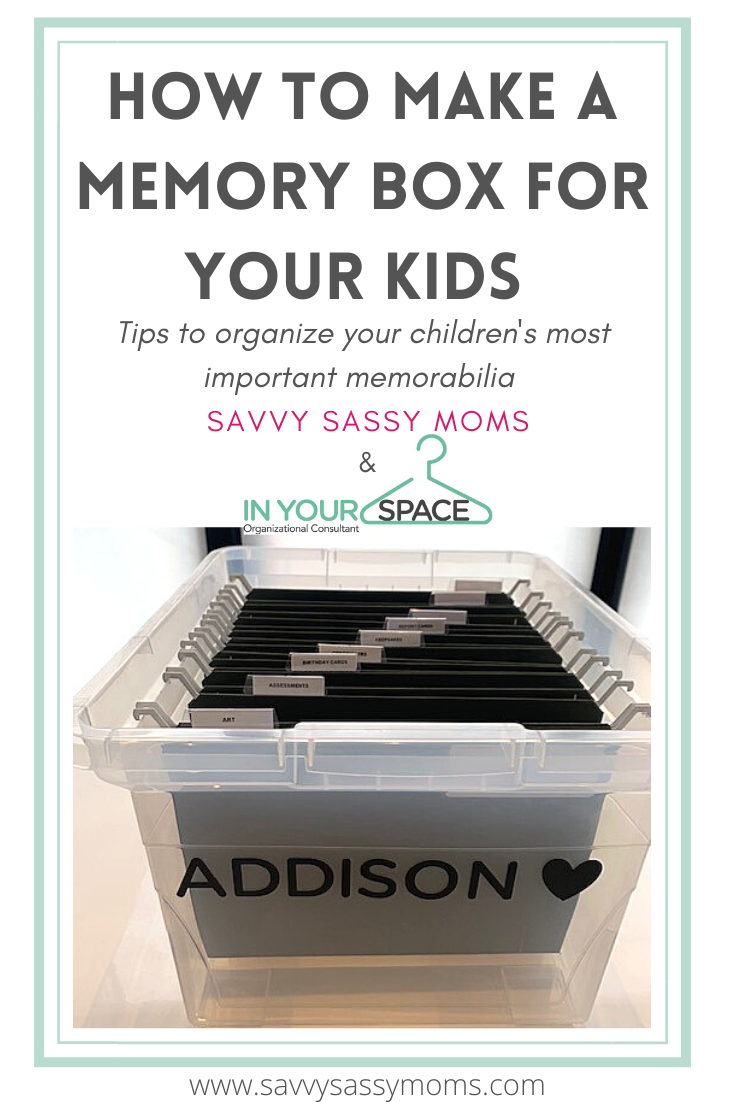
If there is one thing that all parents have in common right now, amongst many other things, it is that they want to organize! We all want to get the house organized, but even more than that, we want to organize our kids keepsakes. How about getting the kids to help?! This is the first time in a long time that we have had a break from arts and crafts and work being sent home from school, and we actually have the time to sit and go through it all! The big question is, what do you do with it all?! After meeting with Laura from In Your Space Organization, she told me about the personalized Memory Boxes that she makes and why they are so useful! She shared the steps with me on how to make one yourself!
What is a memory box?
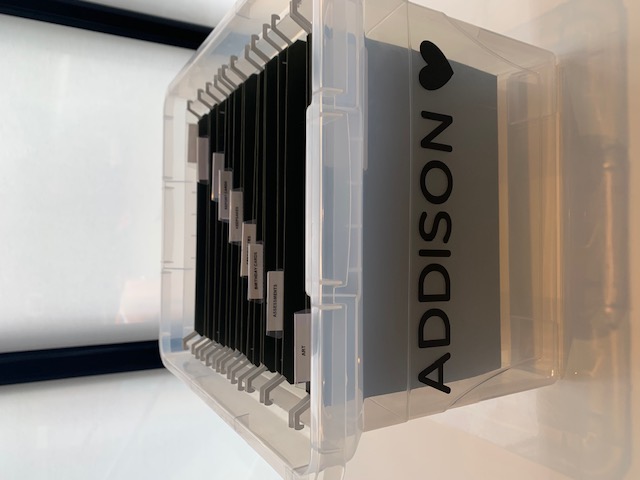
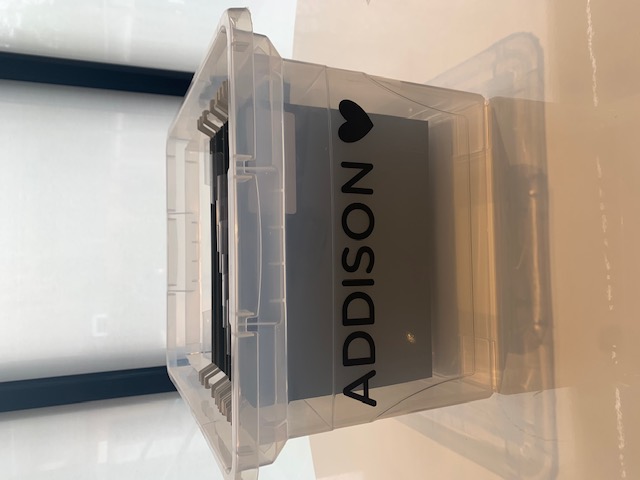
A Memory Box is a sturdy box that is divided and organized for all of your child’s memorabilia. It’s a great place to store pictures, certificates, birthday cards, report cards, tooth fairy letters and so much more! You can customize what you want inside! This box makes it easy for even the most unorganized parent to get organized! While it will clean up the clutter now, it is also a wonderful item to have years from now to give to your child.
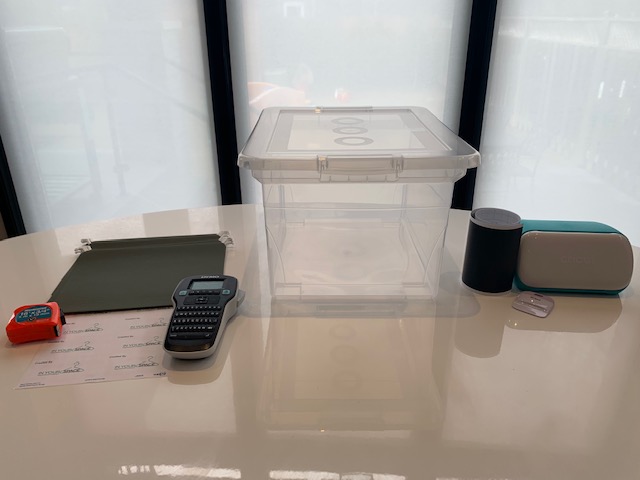
Here’s what you will need to make a memory box
A File Folder Box – This box is what you will use to hold everything. You will want one for each child. They come in sets of 4 and are also great for organizing family bills etc. Shop the bins here if you are in the US and here is you are in Canada.
Hanging folders – this is where all the organization magic happens! These are great because they are made of recycled materials and they come in a whole bunch of colours. This makes it even easier to customize each child‘s box. To shop them in Canada click here. To shop them in the US, click here.
Lastly, Laura uses her Circut Joy (links here: Canada and US) to add the name to the front of the box. I don’t have one of these, but it is definitely on my list of wants! She uses this to customize the name on the front and sometimes she also uses it to customize the tabs on the folders as well. Other times, she uses a label maker (Canada and US) which is a great option. If you don’t have either, don’t stress, simply write on the tabs! You can always update it in the future if you feel like it!
How to make your memory box
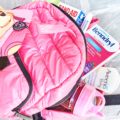
Once you have all of your supplies, start by gathering everything you think you will want to put into the memory box. This will help you figure out what labels you will need on the folders. Think about things you will want to keep for a while like report cards, certificates, medical record, assessments etc. You might also want to save some special pieces of artwork. Since artwork can take up a lot of space, another great option is to use an app to store pictures of artwork such as Keepy. Once you divide everything into piles, you are ready to organize the inside of the box. Start by labelling each folder with your Cricut Joy or label maker, or go right ahead and write on the labels! You don’t need to be fancy! The purpose here is to be organized!
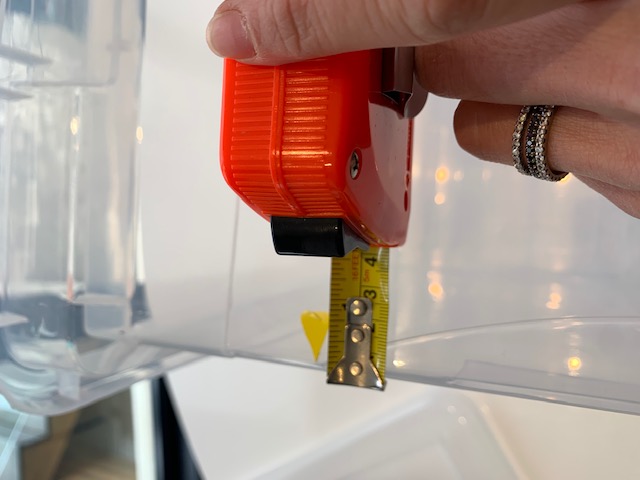
Before you place all the folders into the box, you will want to label the front of the box so that you can differentiate between that box and other bins you have in the house. Again, it’s also a nice way to make it a true memory box! When placing the name on the front, use a measuring tape to map out where it will go so that it is centred. Once it’s labelled, add in all your folders and start putting the piles of paper inside! Trust me, it is the most rewarding experience!
Not sure you can make your own? Here’s how Laura does it:
When a client first places the order, they have the option of customizing the name on the front of the box with font selection and colour. The next customized option is the name for the individual tabs as each person ordering the bin may want it for different purpose. For example, some may be parents who want to organize all their kids artwork, report cards, certificates, etc. Or they might be a female entrepreneur who needs a bin to organize their taxes and business ideas. After they selected these two individualized options, I print the custom name for the front of the box using my Cricut Joy and ever carefully place it on the front of the bin, double measuring for perfection. Next step, I move forward printing the hanging folder tabs and placing them in the plastic tab holder. I then place each tab in order on the hanging folders and put them in the bin. Final step is give it to the happy customer to kick start their way to getting organized!
If you are in Toronto and would like Laura to make you, can contact her and she will take care of the rest!
Jenna Berger is a mom & stepmom to 4 kids between the ages of 9 and 14. She loves staying up to date on all things kids and makes sure she is on point with the latest childhood trends! She is the owner of Savvy Sassy Moms and manages a team of creative contributors that work hard to keep moms up to date on the latest trends. Jenna loves social media and works on a variety of social media campaigns with brands big and small. Connect with Savvy Sassy Moms on Instagram