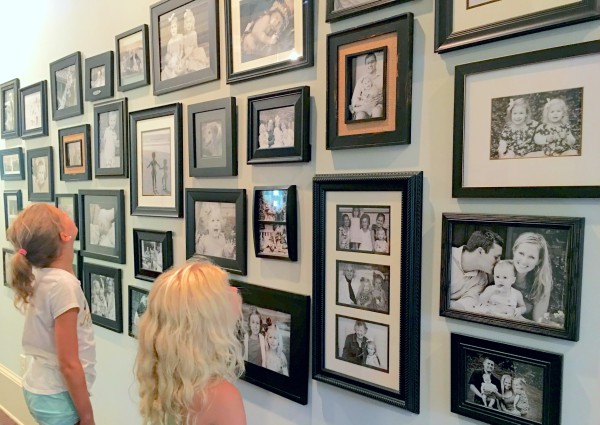
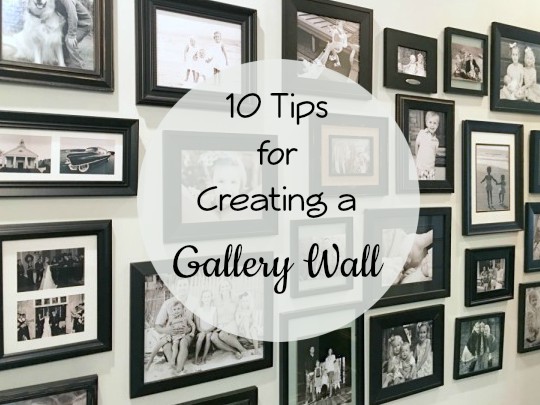
If you have spent any amount of time on Pinterest you’ve seen some lovely gallery walls and for a good reason. It is an easy way to fill a big space, relatively inexpensive, and the perfect way to display photographs or artwork. We’ve got different types of gallery walls all over our homes and we’re sharing our top tips for creating a gallery wall of your own!
1. Decide on a color palette.
Will your gallery wall be black and white, are you planning to have pops of color or do you want something neutral? For a gallery wall to look just right, you need to be sure to have it consistent, no matter what you decide.
2. Start collecting.
This is usually a project in the making. You can’t wake up one day and decide you want to put together a gallery wall. You need to gather art work, meaningful pieces, photographs frames and other special things you want to hang on your wall. We suggest starting a box in a closet to put all of the things you are collecting for your gallery wall. Frames, art, photographs and other pieces will be in one place and when you think you have enough to create your wall, you’ll be able to pull it out and get to work!
3. Focus on frames.
One of the most important things to decide about for your gallery wall are what frames you want to use. If you plan to have a consistent shape and size, you can purchase the same frames for all of the pieces. If you want a more random look, you can mix it up. One thing to keep in mind is that you do not have to spend a lot on frames! Search thrift stores, discount shops or even big-box retailers with coupons. For most of our gallery walls we pick a color and collect them over time. When grab them we find unique ones or when we find them on sale! If you go with this route, you can always add to your wall later on without having to worry about finding the exact same frames.
4. Use a variety of shapes and sizes.
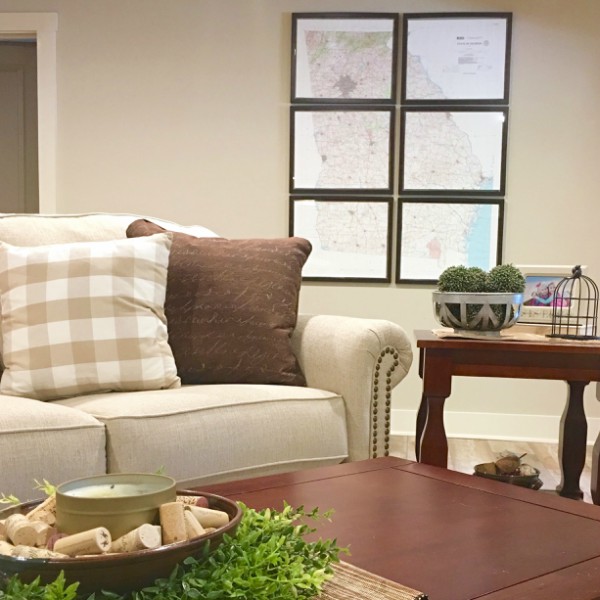
If you want a gallery wall that is going to be more like a grid you will obviously need the same sized frames for all of your pieces. If you want to add interest to your walls be sure to mix the sizes and shapes of your frames. Large and small, horizontal and vertical, square and rectangle…the more you mix the more you can do with you layout.
5. What will your pattern be?
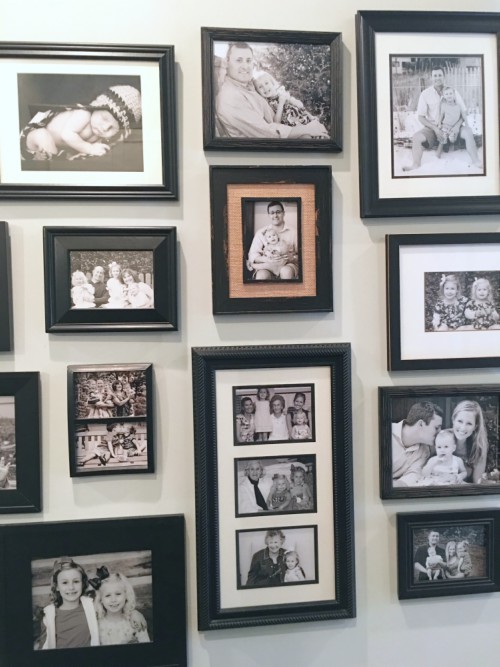
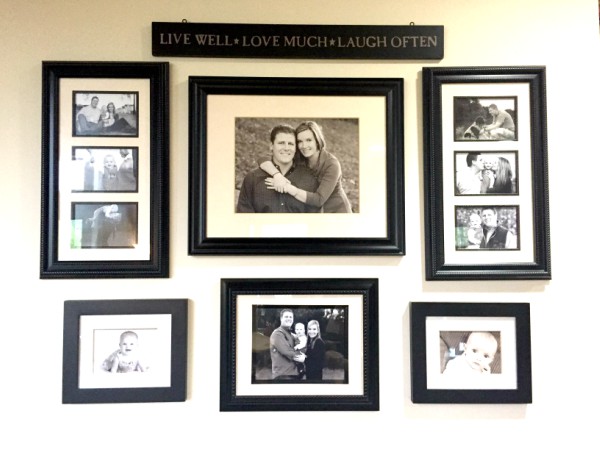
Once you have all of your pieces framed and ready to go, you’d to decide what type of pattern you would like for your layout. Do you want a grid with everything hanging nice and straight? Do you want a symmetrical look or do you want it to be more random? A grid always looks really nice, but keep in mind it is way more involved when it comes to hanging time!
6. Arrange on the floor.
To avoid a bunch of unwanted holes in the wall, lay out your frames on the floor first. You can arrange and rearrange as many times as you would like until you get it just right. Then, snap a picture with your phone so you can work off of that when you begin hanging.
7. Start in the center.
Now that your layout has been documented, you are ready to start hanging. We recommend staring in the center and working your way out. Getting one central piece hung gives you something to work off of and helps you with getting your spacing right.
8. Use consistent spacing.
No matter what type of pattern or arrangement you decide on, use consistent spacing around each of your pieces. Some people are super type-A when it comes to this and others are in the camp close enough is good enough. We will say, if it is a little off the chances are that no one is going to notice. Don’t sweat the small stuff!
9. Keep adding to it.
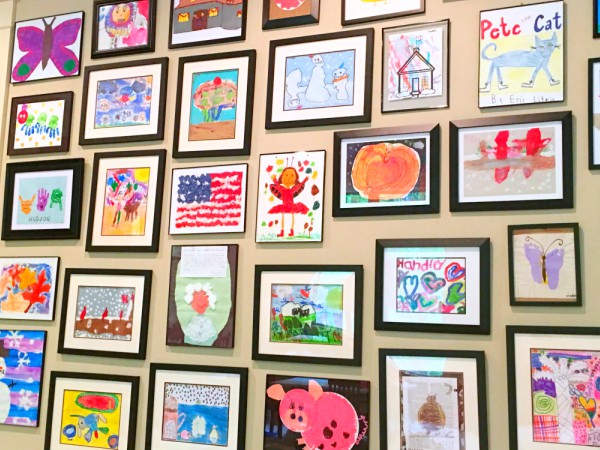
These types of walls can be ever changing. Have new photographs you love? Print them out and hang them up! Kids bring home new art work? Switch some of their older pieces out for newer ones.
10. Admire and enjoy your newly decorated walls.
One thing we love most about these walls is all of the attention they get. Looking back and old photos, discussing special pieces, and seeing colorful children’s artwork is so much better than staring at big, blank walls. It just makes your home feel more personal and tells your family’s story!


Comments
Thanks for stopping by.pharmacy online