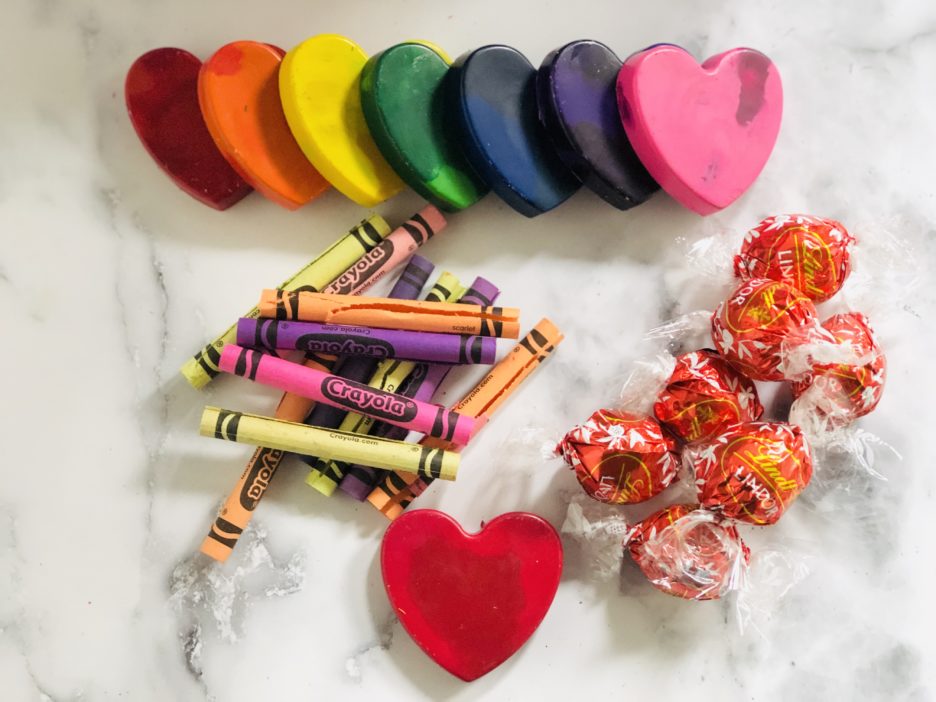
Valentine’s day is around the corner and I always like to make it fun for the kids! Let’s be honest…the kids come home with 30 little cards that parents spent money on and very shortly after, they end up in the garbage. I am about USEFUL giveaways for these seasonal events. I have shared this before…especially when it comes to loot bags and I shared how to make letter crayons and they make an amazing loot bag. Come to think of it, you could make kids a baggie with the letters L-O-V-E if you want another option for Valentine’s day! These DIY crayons are a much simpler and quicker option (and you don’t need to know how to spell all the kids names!) Here is how to make Valentine’s day crayons.
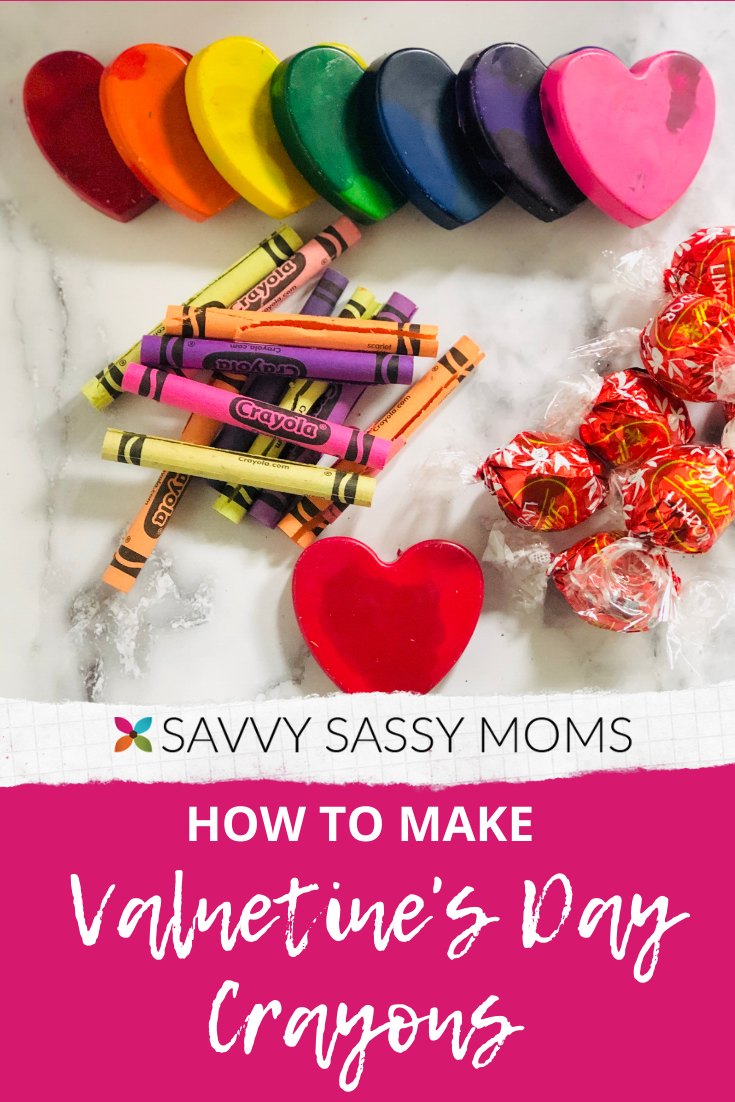
Here is what you will need to make Valentine’s Day crayons:
- Crayons – I went on Amazon to get a lot of crayons for not a lot of money! Depending on the size of the heart mold, each heart will need 2-4 crayons.
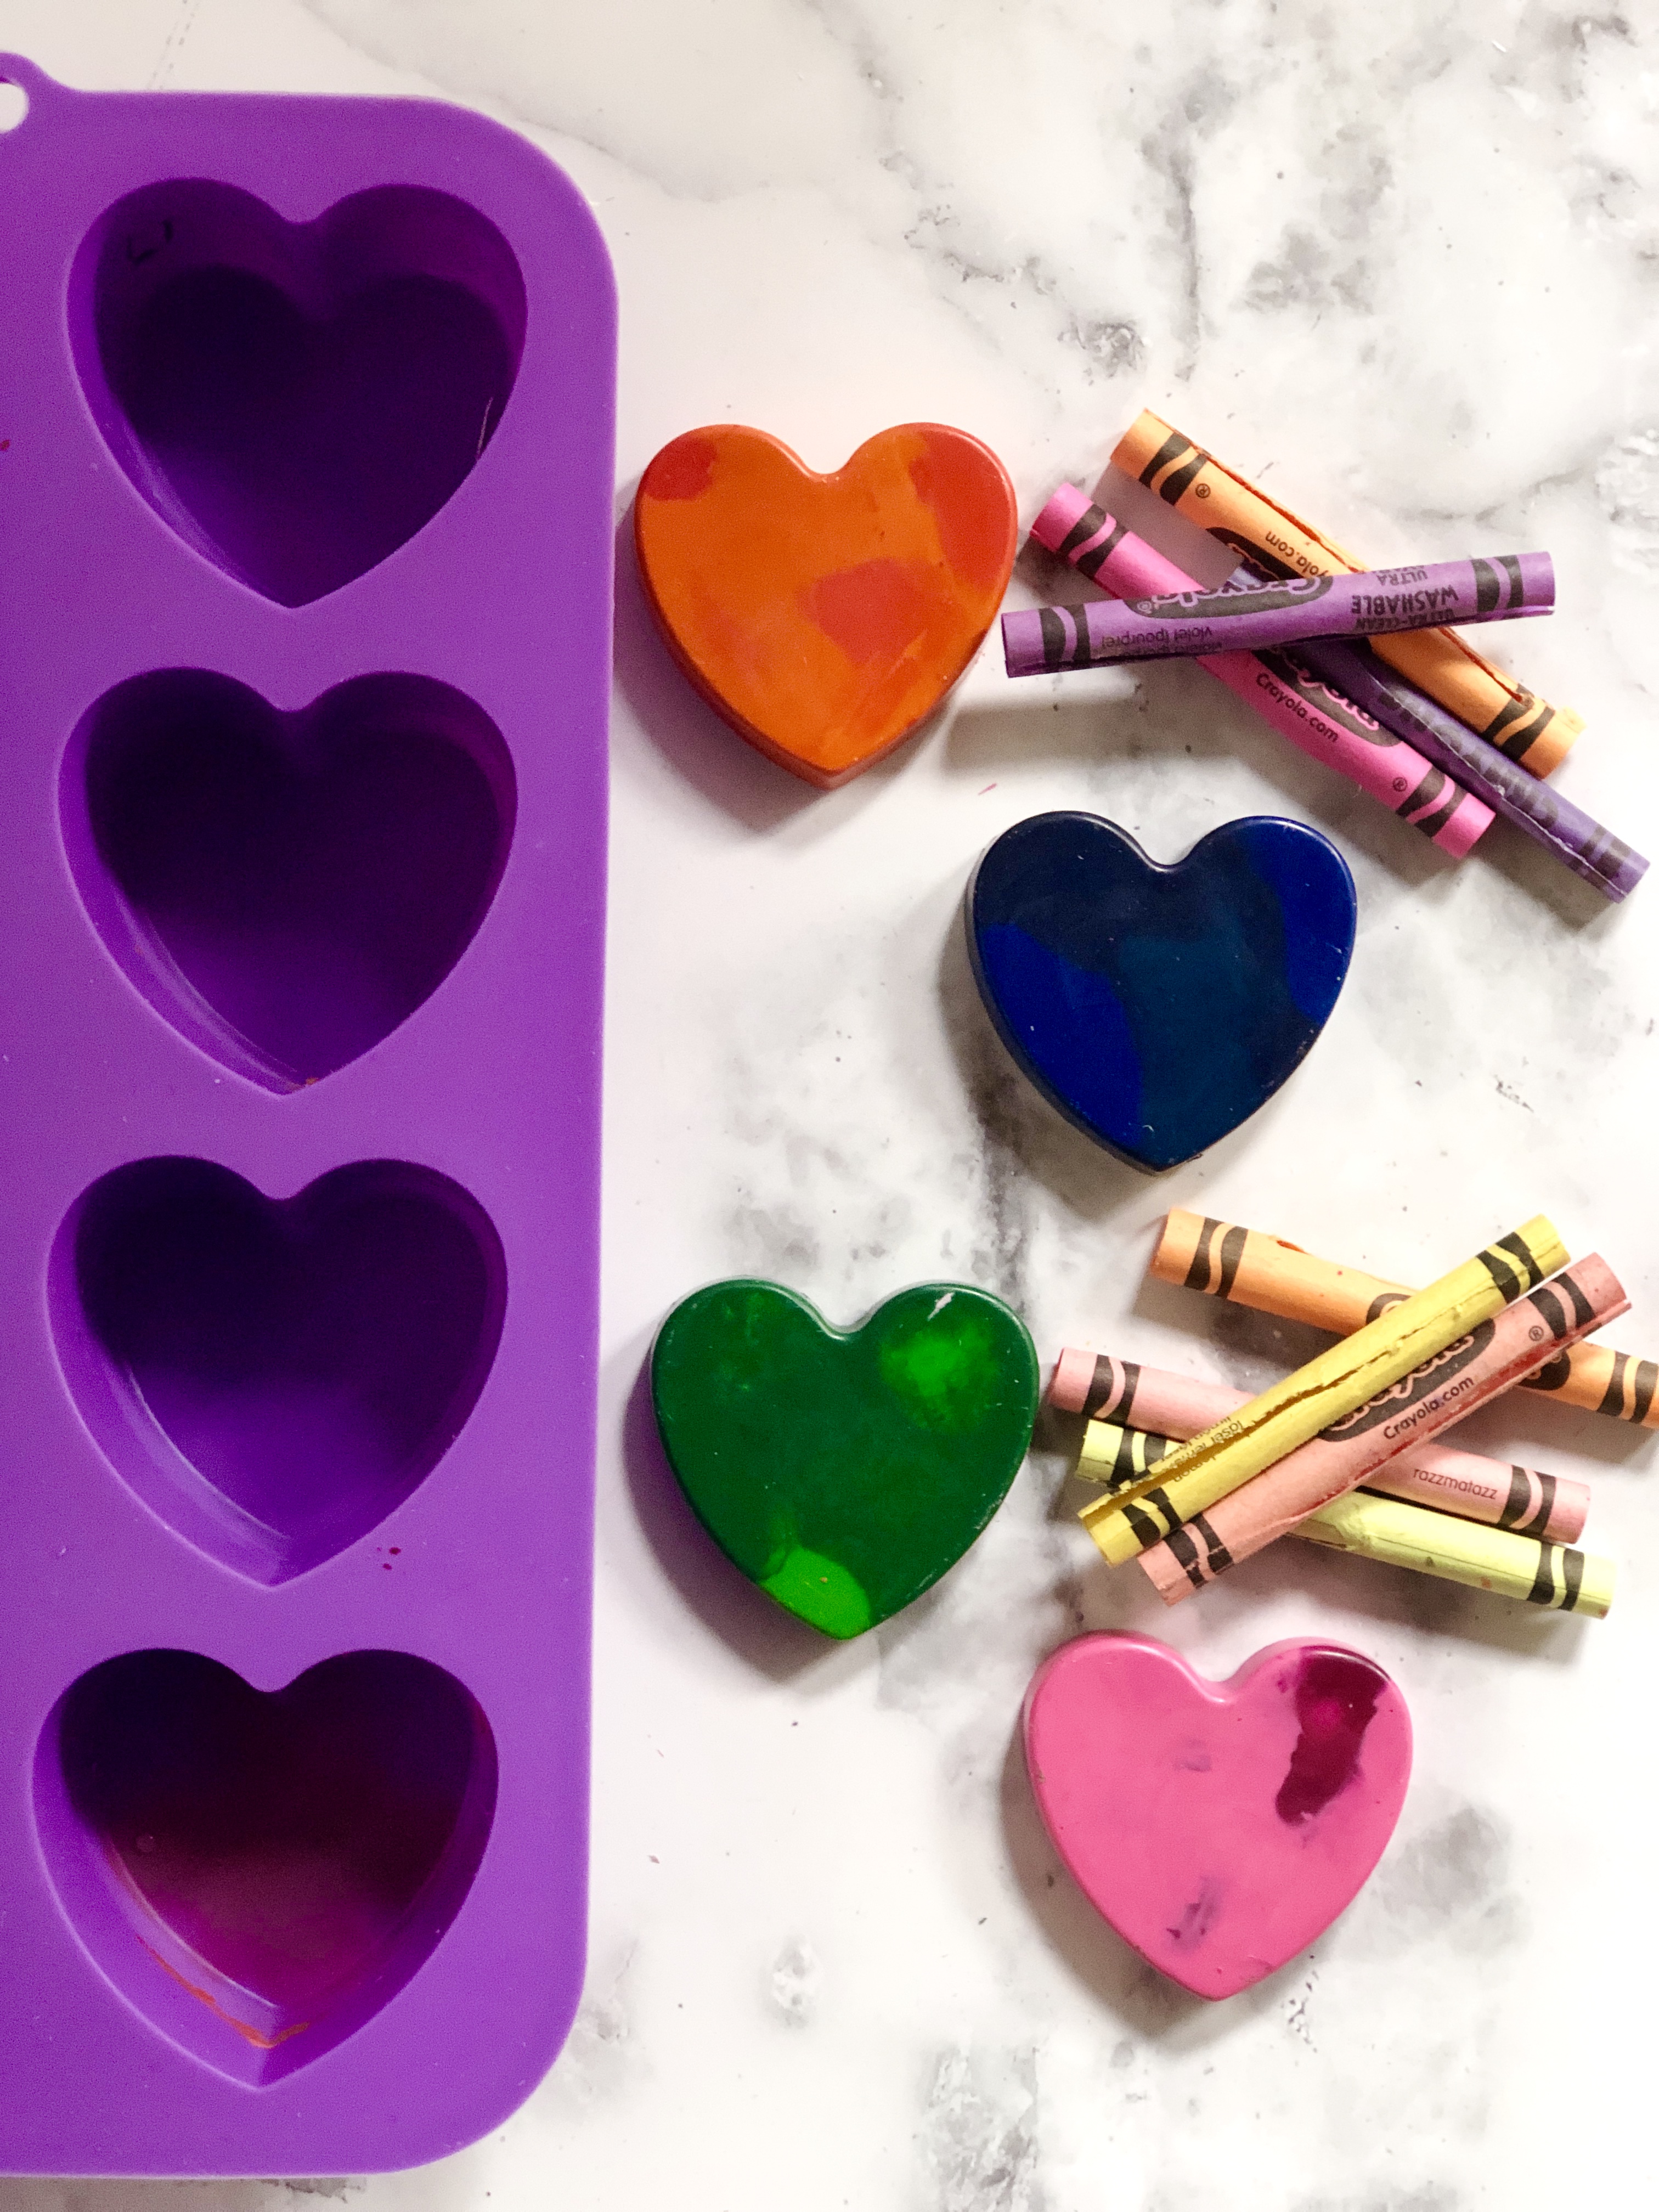
- heart mold – There are many different heart molds that you can get, in different sizes. This is the mold that I used for these hearts. I used 4 crayons per heart and I like these because they are deep, which avoids spilling when they come out of the oven!
- small heart mold– this is a smaller heart that is great to make more hearts at the same time. Great for big groups, or if you want to make lots to give kids a few.
- clear bags and ribbon to wrap them up, or tape them onto the back of you DIY Valentine’s card.
How to make Valentine’s Day Crayons
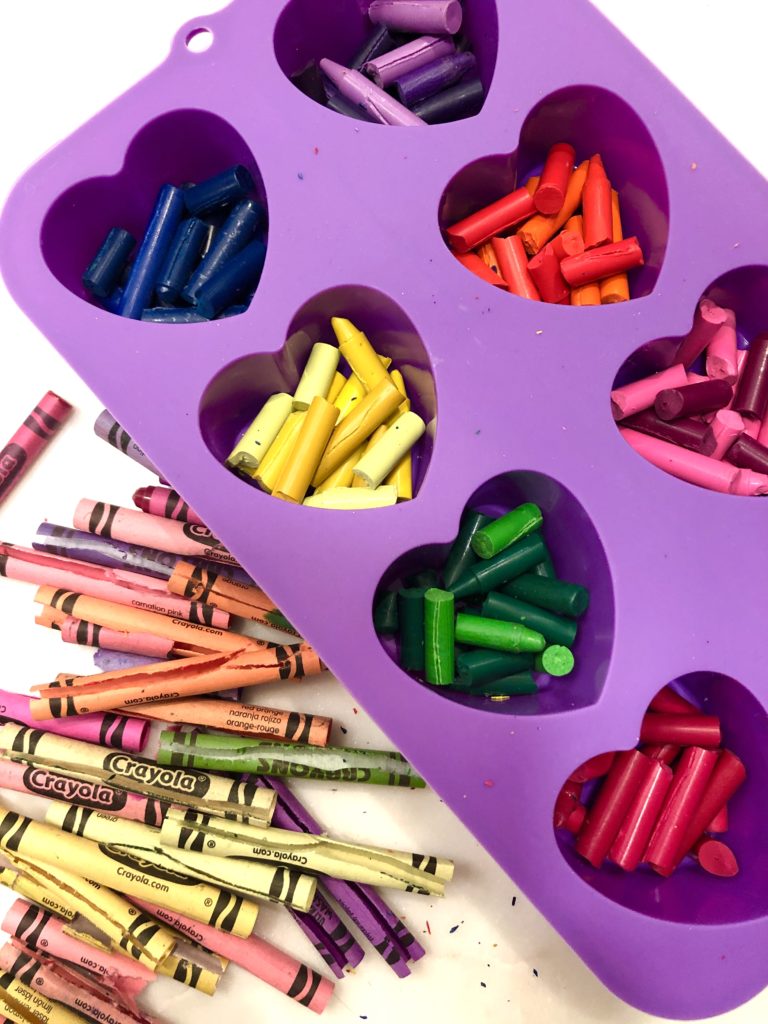
Step 1: Take out your crayons and remove the paper. With a sharp knife, press down on the crayon length wise to cut a slit in the paper for easy removal. In my opinion, I suggest cutting as many as you can first and then removing the paper after to save time (and to give your hands a break)!
Step 2: Break the crayons into 3 or 4 pieces, depending on the size of the mold. Bigger molds will fit bigger pieces. Once they are broken, place the crayons into mold. For the big molds like the ones pictured here, use a total of 4 crayons per mold. If you want very thick crayons, add more, but the thickness of these work well!
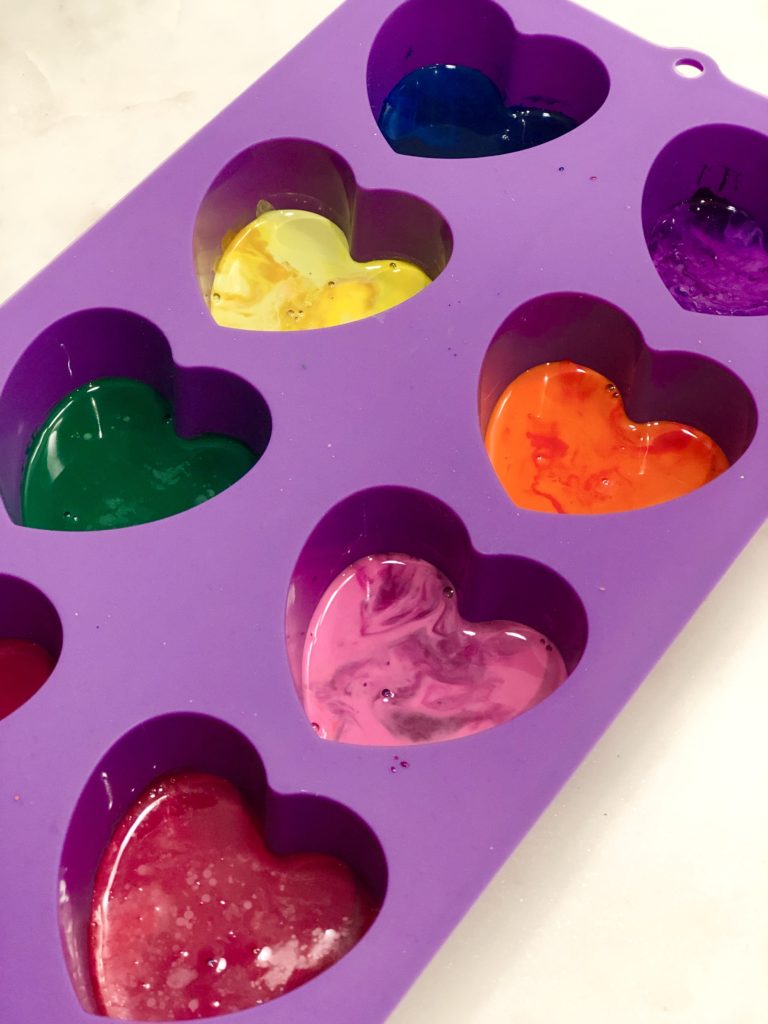
Step 3: Heat the over to 350 degrees and place the molds onto a baking tray and place the tray in the oven for 10 minutes.
Step 4: Remove the tray and place the molds in the fridge to cool. Then, wait until they are solid before removing them. Voila! You are done!
Place them in little cellophane baggies or tape them to the back of these free printable valentines!
Happy Valentine’s day!
Share this Post

