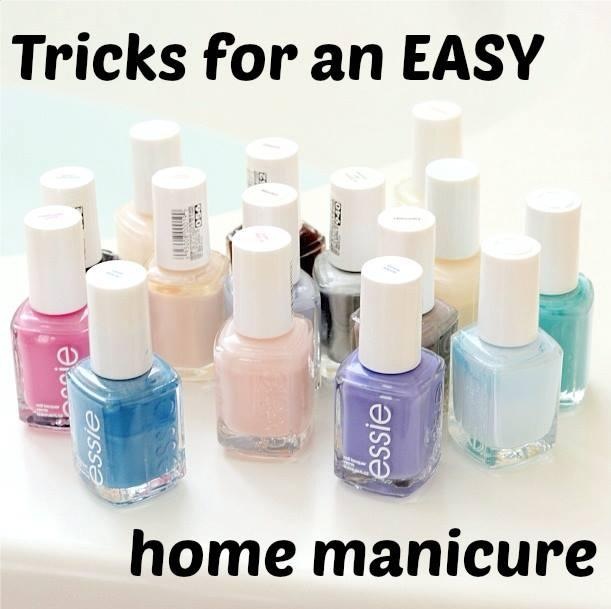
 You can skip the trip to the manicurist and still have lovely nails. Really. Even if you are not a nail art pro and can barely hold a file, these five steps for an easy home manicure are fool-proof and easypeasy. You do not need to buy out your local beauty supply store — you probably have most of these items in your bathroom cabinet. The entire routine will take you 15 minutes, tops. Your hands will be pretty and professional, and you will have saved yourself 20 bucks plus tip.
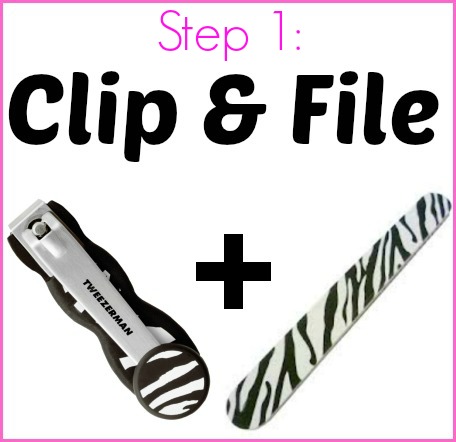
Step 1: Clip and File
Before moistening your hands in any way is the time to change your nails’ shape. They are less likely to peel or crack when clipped and filed when completely dry. Use straight-edged clippers (the curved ones are more likely to tear nails and skin) such as Tweezerman’s Power Nail Clipper in tiny clips on jagged nails. Do not try and fit your entire nail in one snap. Follow up with an emery board to smooth the tips and refine shape. Move your emery board in one direction to prevent splitting of nails.
Pro tip: Disposable emery boards are easier on women’s nails than metal files.
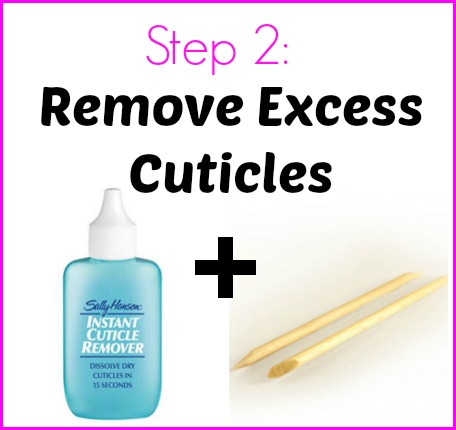
Step 2: Remove Excess Cuticles
Any cuticle cutting is best left to the pros. At home you can safely eliminate any cuticles sticking to your nails with a liquid cuticle dissolving solution such as Sally Hansen Instant Cuticle Remover. After applying to the bottom of each nail bed, gently push back with a wooden cuticle stick. Excess cuticles will be sloughed off and the good cuticles that protect your nails will be groomed and groovy.
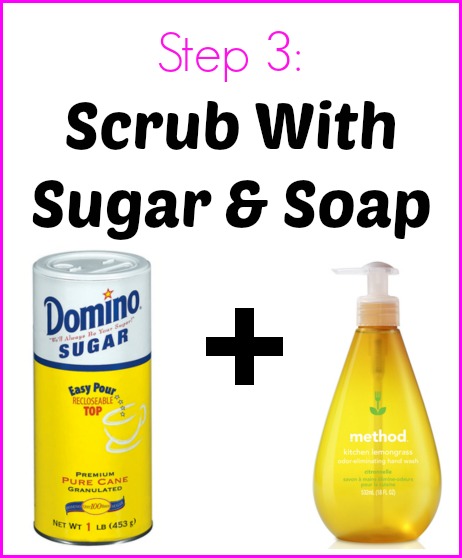
Step 3: Scrub with Sugar and Soap
Now it is time for the step all moms know well: Wash your hands. But we are doing it Def Leppard style and pouring some sugar on those paws. Add a 1/4 cup of granulated sugar to a couple generous pumps of your favorite liquid hand soap and scrub those cuticles and nails. This will remove any cuticle crud and gently exfoliate your nails and hands.
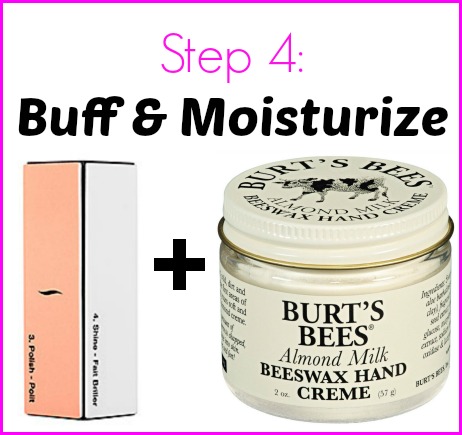
Step 4: Buff and Moisturize
Thoroughly dry your hands and grab a gentle nail buffer block like the Sephora 4-Step Nail Buffer. If you plan on polishing your nails, only use the most smooth-feeling side, moving softly in one direction on each nail. If you plan on going polish-free, start at the most gritty-feeling side of the block and gently move across each nail in one direction. Follow up with the three subsequent, gradually smoother-feeling block sides. Then rub your thickest, most luxurious hand cream into your hands and your nails. We dig Burt’s Bees Almond Milk Beeswax Hand Creme. Moisturizing your nails right before polishing them locks in healing moisture.
Step 5: Base Coat and Polish
The First Commandment of Colored Nail Polish: Thou shalt not skip the base coat. (Just ask anyone who has ever been left with purple or blue stained nails after skipping a base!) Use a specialized base coat polish if you have, otherwise plain clear polish is fine. No need to let it completely dry before painting on your colored polish of choice.
To polish on your color like a pro, use a freshly-dipped brush for each nail. First paint one wide strip in the middle of each nail. Make a skinnier strip on either side, overlapping the first one a bit. Don’t over paint or worry too much about perfection.
Pro tip #1: Paint your dominant hand first, that way the hand you are more skilled using is the wet one. You will be less prone to mess ups.
Pro tip #2: Paint your nails on an evening when you are in for the night and do not worry about “coloring in the lines.” The next morning when you are in the shower, any nail polish you got on your cuticles or fingers will come right off.
What is YOUR DIY manicure tip?
Title photo credit: Damon Garrett on Flickr via a Creative Commons license.



Comments
Great tips! I love doing my own manicures (control freak, much?) and will definitely be trying out some of these- like the sugar scrub! Genius!
xo
Thanks for your comment @Katie! I always love your SavvySassyMoms posts. You give the BEST style inspo! Much love to you as you gestate with style. xo
Really good tips here, I worked out a few months ago about painting my dominant hand first and it really works! It’s such a good tip – I found that I’d paint my right hand last and then get impatient and pick something up with that hand and ruin my nails, now I paint it first and it’s that much drier when I start wanting to do stuff and so I have pretty nails without ruining them!
I love the soap and sugar tip! This is so easy and makes it feel more spa like 🙂 You can also do it with honey and sugar or honey and coffee grounds!
Interesting about the cuticle remover too, I’ve been wondering what to do about my cuticles so will definitely give that a try. Thanks!
OK, I have always wanted to do a sugar scrub… I am SO trying this! I rarely get a main/pedi and usually do my own. These are great tips!