I have been wielding a blow dryer since middle school, but I have never been able to achieve that bouncy blow out perfection that I receive at the salon. Lucky for me, my favorite salon — Hypnotic Salon and Spa in Olney, Maryland, just outside of Washington, DC — hosted a Blow Dry Boot Camp.
What’s a blow dry boot camp?
Participants were invited to learn from their stylists exactly how to re-create that professional blow out ‘do that looks like a million bucks and lasts three days. We were told to bring with us our hair appliances, brushes and products for evaluation, and if the items were deemed less than awesome for our strands we could donate them to a women’s shelter and receive a 25 percent discount on improved tools and products at the salon.
I thought this was such a fabulous idea that I immediately booked my boot camp slot with my stylist and Hypnotic Salon and Spa owner Chrissy Mayo. Chrissy gives me great cuts, highlights and unbelievably bouncy blow outs, and she was game for me creating an online tutorial so YOU can learn from her mastery, too.

Before
There on the left is beautiful Chrissy with her full, sleek, glossy mane…and me on the right with my home-dried, no-producted, ponytail-marked, frazzled mess. Chrissy had just given me a cut a couple weeks prior, so the hair itself is looking pretty fly. But there is not much savviness to how I styled my strands.

Products
Chrissy’s face says it all…I was using some sub-par products that were not doing my home blow dry routine any favors. The first items to go were the ones laden with alcohol, which would dry out my hair and strip the color. The next items for the donation box were products too heavy for my hair texture; thick gels and mega-hold hairsprays will only weigh down and clump fine, thin hair like mine.
Protection
Chrissy recommended for me the Redken Blonde Idol BBB Spray to use when my hair is wet after washing and conditioning. It is a lightweight treatment for my ends to give my hair a soft feel without weighing down my thin hair. It will also help boost my highlights and protect my hair before heat styling. Another good protection before blow drying product is the Redken Pillow Proof Blow Dry Express Primer with Heat Protection.
Volume
Next I needed a product to plump up my roots and give my entire head volume while blow drying. Chrissy is a fan of the Redken Guts 10 Volume Spray Foam. This stuff is so cool — it is a mousse that is not sticky and you can accurately spray right into your roots. It provides a brushable, soft volume.

Tools
The Dryer
The most important tool is an ionic hair dryer to promote shine and cause the least amount of damage to the hair. I already owned the Turbo Power Superturbo Lite 3300 Ionic & Ceramic Nano Hair Dryer and Chrissy was impressed (of course, I was not using it correctly.) Chrissy uses a salon-level BaBylssPRO dryer that is even lighter and more powerful (and pricier.)
Attach the Diffuser
Next up in importance is the act of actually attaching the diffuser nozzle that comes with your dryer. This will help your hair cuticles — layers on each hair strand which overlap one another like roof shingles — to smooth, rather than spiking up with flyaways and splitty-looking ends.
Brushes
When your hair is wet from the shower, the only brush you should use on it is a Wet Brush, which will not break your hair when it is at its most delicate. You can also use a wide-toothed comb. While you blow dry, Chrissy recommends the Olivia Garden Ceramic + Ionic Flat Brush for a poker-straight look and the Olivia Garden Ceramic + Ionic Thermal Round Brushes for a full, bouncy, tucked-under-ends blow out.
For round brushes, the longer your hair, the larger the circumference of your round brush should be. I was using a pretty small round brush, which was tangling my hair when it wrapped around. The size I was using (pictured below in the Rough Dry photo) was a better match when my hair was chin-length. I upgraded to the largest size.

Rough Dry
Comb or Wet-Brush your hair, starting at your ends and working your way up to eliminate tangles. Then squeeze out all the water — do not scrub it with a bath towel, which can exacerbate frizz. Part your hair and then add your product.
Now you can begin the casual, easy, anyone-can-do-it portion of your blow dry: the rough dry. This means you just dry it using your hands and your dryer in an inexact manner to zap the majority of the moisture. While you rough dry, do not worry too much about your technique, other than always pointing the dryer nozzle towards the floor to coax your cuticles to lay smoothly against the hair strands for the healthiest hair look possible.
(Chrissy used my own dryer during the tutorial so I could really get a sense of how to recreate her art at home.)

Section
Once your hair is 75 percent dry (or more wet if you have a wavier texture), section it with clips. I had some professional-style crocodile hair clips that came with my flat iron, but you can use claw clips, butterfly clips — whatever you have as long as it will hold your hair in sections without leaving a deep mark.
I have pretty thin hair so I can get away with clipping the top layers of my hair on both sides to the top of my head, and then drying the bottom layer on each side (four sections, two clips.) If you have thicker hair, clip up and section off more. You will be drying the bottom layers first, then working your way up, spending the most and final time on the sections at the front of your head and near your face.
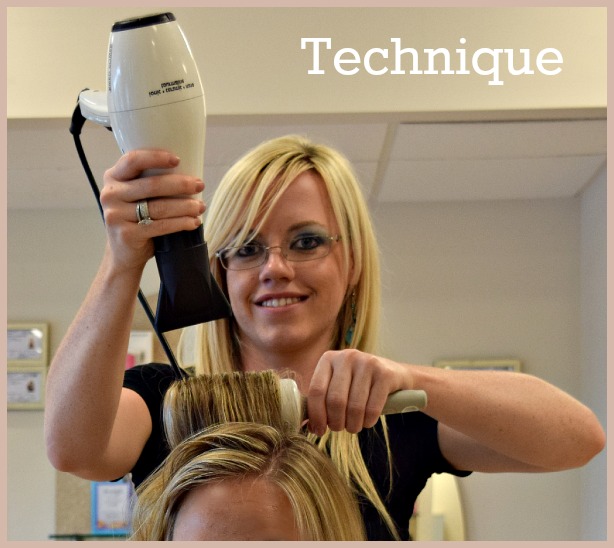
Technique
The Hold
I always though stylists possessed magical powers (and of course, two arms not attached to the hair owner’s body) that allowed them achieve blow dry perfection. But Chrissy’s technique makes the entire process so much easier! Here is her secret: hold the dryer by the nozzle, not the handle! It gives you more control and is less fatiguing. It is kind of like holding a pencil — why hold up at the top when you can grip it better by the point?
Dryer/Brush Combo
Once you have nice control of your dryer in your non-dominant hand, it makes introducing your brush of choice into your dominant hand a zillion times easier. Brush your hair from beneath near the root and then use the nozzle of the dryer to follow your hair down to the ends. If you are using a flat brush, keep it moving to smooth. If you are rolling under with a round brush, you can hold the hair in a tucked-under position to get more of a bend at the end, but keep the dryer nozzle moving so as not to burn your hair.
Start with the bottom-most sections and then work your way up, leaving the top-most layer and your bangs or face-framing hair for last.

Finishing
Top Section = Extra Attention
By now your final sections of hair will be almost dry, and that is totally fine. Your dryer and brush will be coaxing them into glossy, bouncy submission. Get a close grip with your brush at the root and pull up above your head for maximum volume. Insert slightly less hair into the brush than you did on the bottom sections, and spend a little more time with each pass of the brush. Think of it as icing your almost-completed cake.
If you would like more volume at the crown of your head (think of the location where you would insert a Bump-It, back in the old Snooki days), use a fine-toothed rat tail comb to accurately section off a piece at your crown near your part. Tease several inches above your root and then smooth again with your brush. Chrissy says that teasing right at the root will do nothing — the key is to move up several inches to really pump up the volume.
Spray
When you are done, spray with a lightweight hairspray that you can brush through and allows for movement, but will protect your hair from weather and extend the life of your hard work. Chrissy recommends the L’Anza Healing Style line of finishing mists — you can choose the level of hold that works best for your hair texture and needs.
Extend
If you would like to give your blow out a boost the next day, even after sleep, just add a little more Redken Guts 10 to reactivate volume. Then spray a dry shampoo like TIGI Bed Head Rockaholic Dirty Secret Dry Shampoo or Redken Pillow Proof Blow Dry Two Day Extender to absorb oil at the roots.
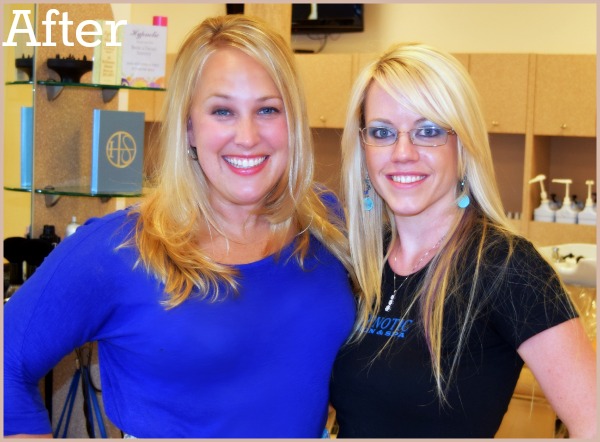
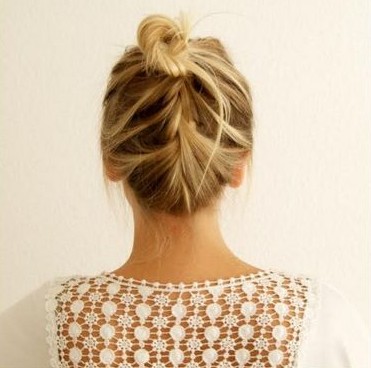
After
Here I am on the left, grinning like a fool because I am having a great hair day that I know will extend into tomorrow. Actually, that hair lasted through two sleeps, one workout, a thunderstorm and volunteering at a swim meet in 90 percent humidity. I hope this tutorial helps you too to achieve great results.
Thank you Chrissy Mayo of Hypnotic Salon and Spa for a bodacious blow dry boot camp, and happy home blow drying friends!