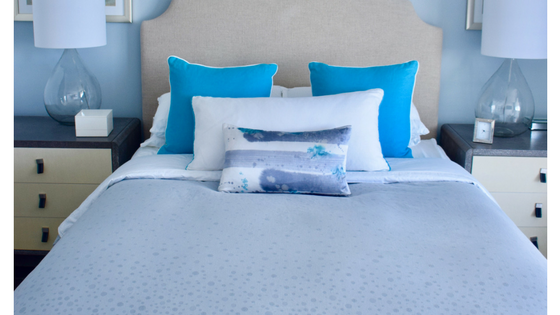
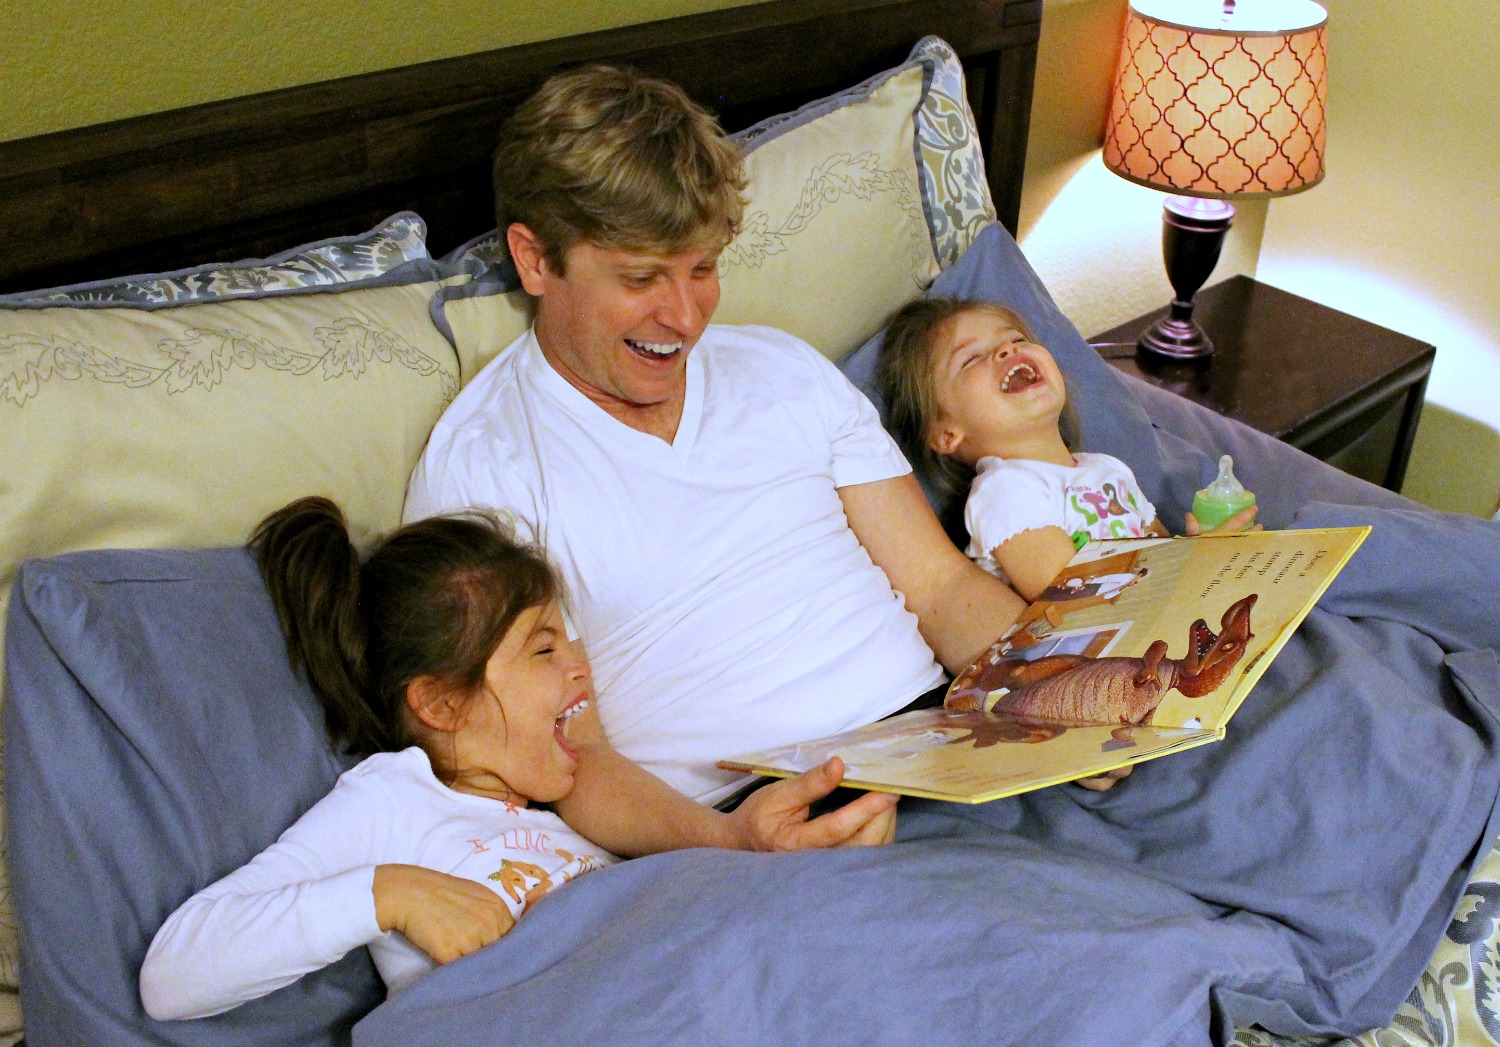
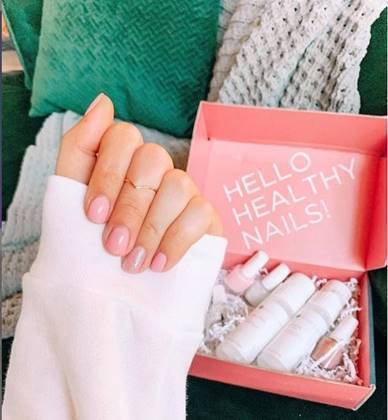
Many children and moms are looking for ways to celebrate mother’s day at home in a special way this year. I have always been a big fan of gifts of experience, what mom wouldn’t love special time with their kids! What kid doesn’t love getting their nails done with their Mom? How about the gift of experience — a mother daughter manicure? Even if some mamas do not allow their kiddo to wear polish, we can still teach them healthy nail grooming habits until they are old enough to wear color. We can discourage our kids from biting their nails or picking at cuticles so they don’t fall into a bad habit. Besides, mommy-and-me manicures aren’t just a great way to encourage simple at-home nail grooming, they’re also a great chance to bond with your little one! This Mother’s Day, we know that many moms will be celebrated with at home experiences and an at-home manicure is a great way to pamper mom!
Pro tip: Keeping your nails polished can prevent you or your little one from picking or biting. It also adds strength and reinforcement, making it harder to bite your nails.
How to give your mom the gift of experience
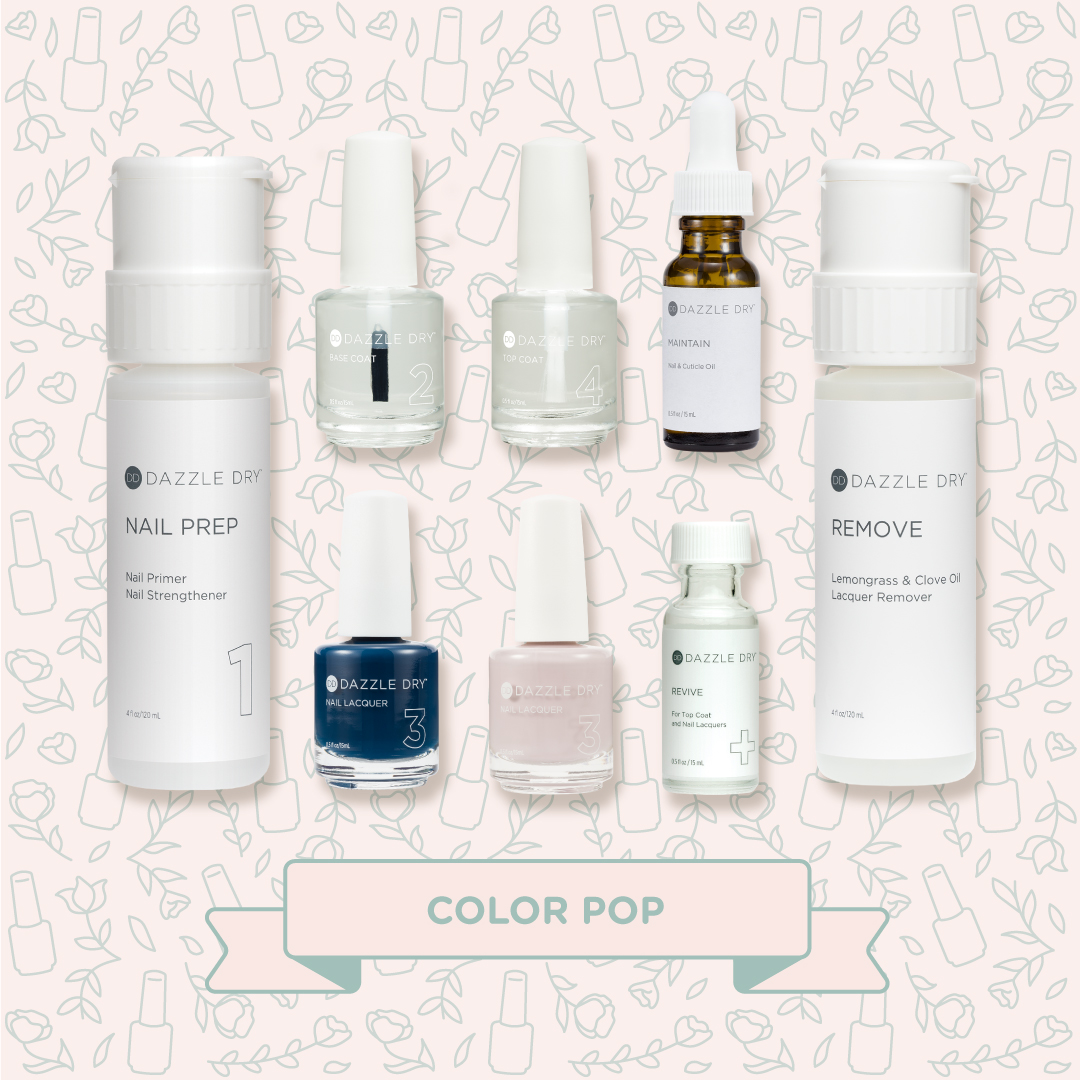
Supplies you will need for your Mother Daughter Manicure
- Nail File
- Orangewood stick
- Buffer
- Nail brush
- Cotton rounds
- Polish remover
- Cuticle oil
- Lotion
- Warm soapy water
- Cuticle pusher
- Cuticle nippers
- Towels
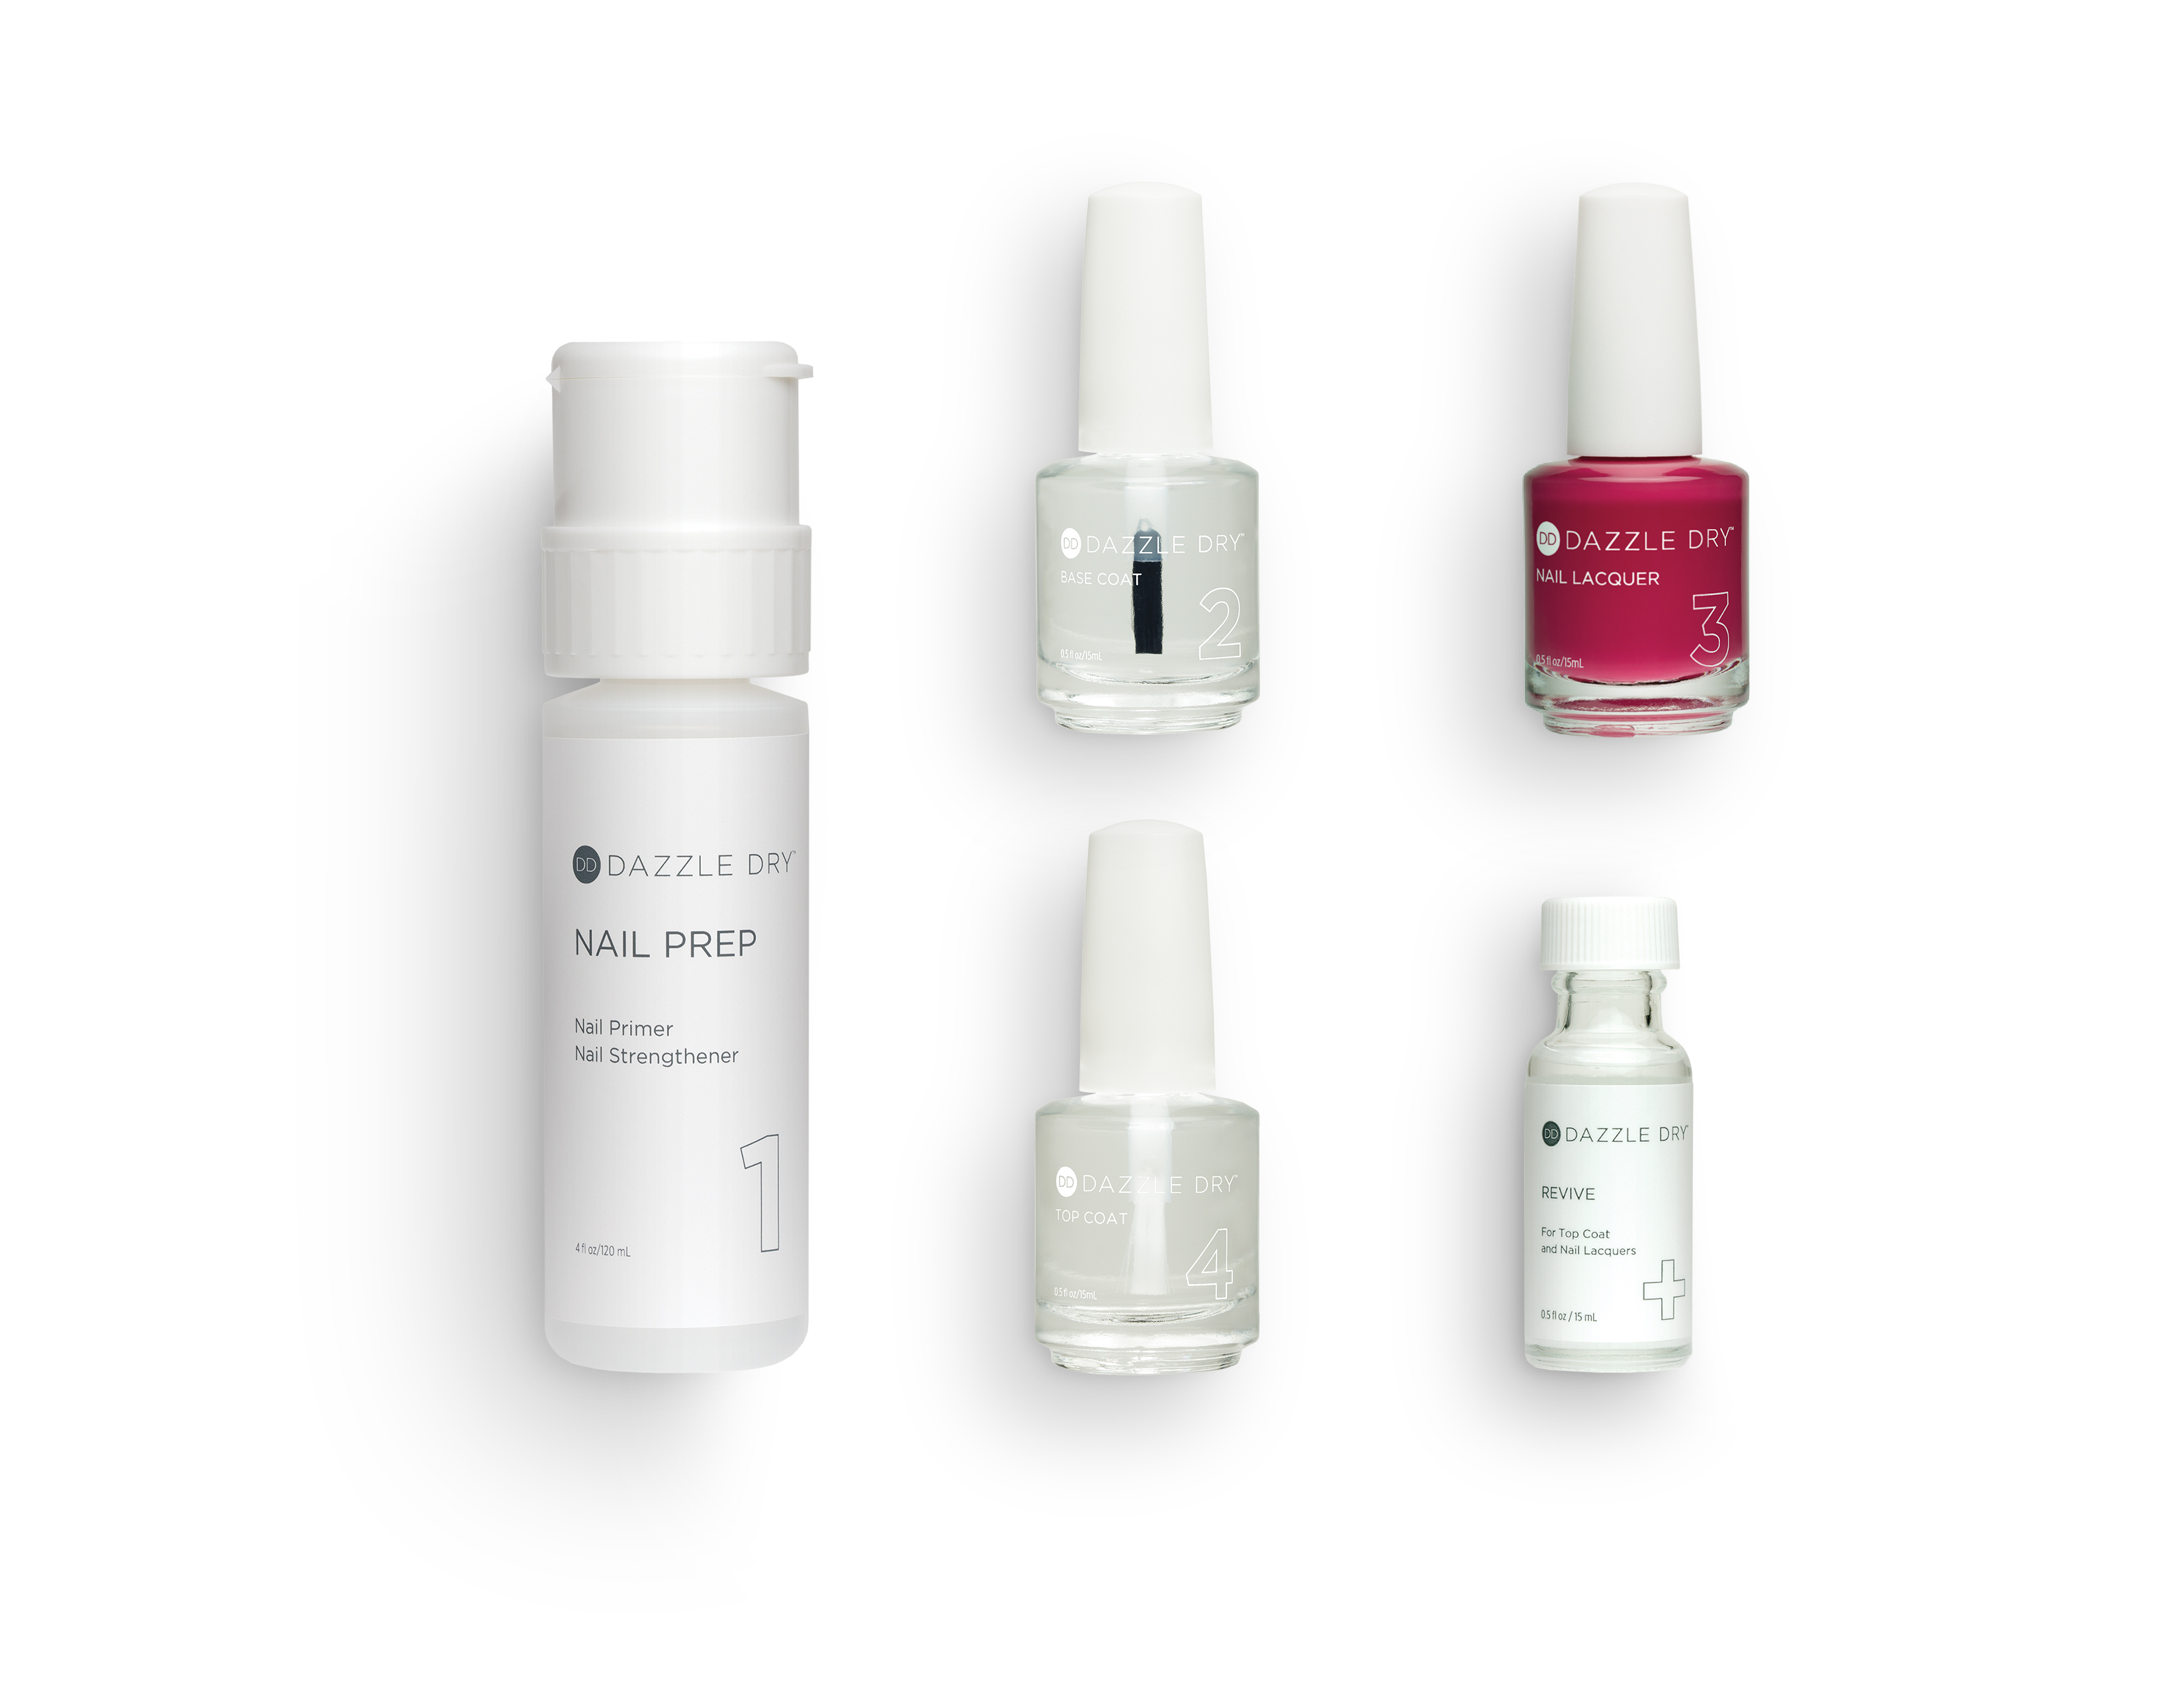
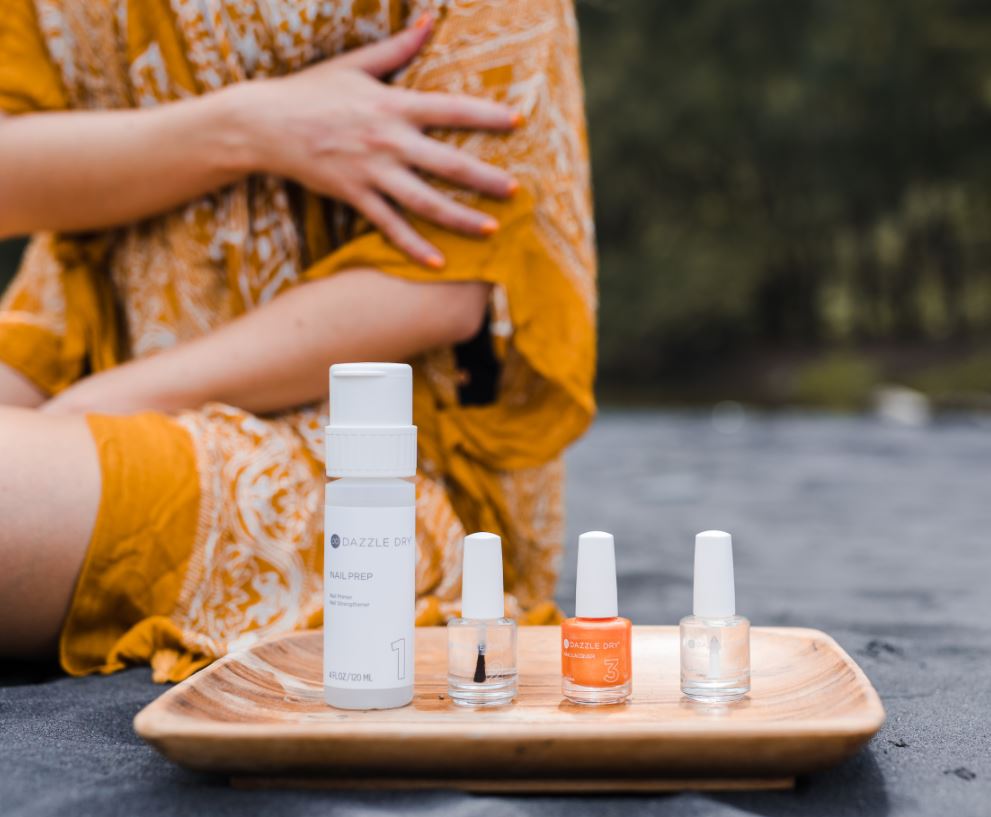
- Base coat, lacquer, top coat and nail stickers
Start with Clean Hands
If your child has polish already on, remove polish with an acetone or non-acetone polish remover. To prevent the color from bleeding all over the fingers, saturate the cotton round and allow it to sit on the nail for a few seconds. Wiggle wiggle wiggle and pull. Rotate cotton round to find a clean spot on every nail until you have completely removed all remnants of old polish.
File your nails
It is imperative that you do not soak nails prior to filing. When you soak your nails, the natural nail plate expands. If you file when they are expanded, you can separate the layers of keratin which can lead to splitting and peeling nails. To avoid nails from splitting, use a nail file designed for natural nails such as a crystal file or a mild 100/180 grit nail file. Don’t saw back and forth. Either file in one direction or side to center until the desired length and shape are achieved.
Push Back Cuticles
Most little kids have excessive cuticle tissue, especially if their hands are in their mouth all the time. The cuticle is dead tissue that grows beyond the base of the nail and is attached to the nail plate. After filing, soak the nails in soapy water for 3-5 minutes. Gently push back the cuticles from side to center using a cuticle pusher or an orangewood stick. Using a towel, gently wipe excess dead cuticle tissue that has lifted off the nail. Removing cuticle tissue from the nail plate will allow for a smoother polish application.
Nip with Caution
The beautiful cord of healthy skin at the base of our nail that we often refer to as the “cuticle” is actually your eponychium. This is live tissue that should NOT be cut. It is a protective barrier that prevents bacteria and microbes from entering the body. Gently nip cuticle tissue that is loose or sticking up. Do not over-cut live tissue.
Lightly Buff
Using a 240-grit buffer, gently buff the sides of the nail, around the base of the cuticle and down the center and free edge of nail plate (the white part that grows beyond the tip of your finger). This will smooth out any imperfections, allow for a flawless polish application and prolong your manicure. If you see any dead skin sticking up after you buff, gently nip it off using cuticle nippers.
Condition/Oil the nail Plate
Once you have groomed and buffed the nails, they will be thirsty for moisture. Apply a nail/cuticle oil or cream. Take about 8 seconds and rub into each nail. This motion will stimulate blood flow and oxygen, which will in turn promote healthy growth. Keep in mind, cuticle oil is not just for the cuticle, it also keeps the nail plate supple and healthy, thereby keeping the nail flexible and less prone to breakage.
Moisturise Hands
Take turns giving each other hand and arm massages. To stimulate circulation, rub each finger from the base to the fingernail.
Clean underneath your nails
While the nails are well moisturized, this is the ideal time to gently clean under the free edge using an orangewood stick. Lots of debris and bacteria can hide under our nails and it is important to practice this good nail hygiene daily.
Remove oil/lotion
Scrub nails using a nail brush with soap and water to remove all oil/lotion and ensure the lacquer will adhere to the natural nail plate.
Flawless polish application
Start with base coat, and think of it as your double-sided sticky tape that adheres the polish to the nail plate. Apply two coats of base coat and let each layer dry about a minute.
Then shake your lacquer botte to blend the pigments. Using light pressure, apply two coats of lacquer and let each layer dry about a minute.
Finally, apply a generous coat of top coat to seal everything in and give your manicures a high-gloss shine. Be sure to apply any nail stickers before applying top coat.
Tips
- If you get polish on the skin, clean up as you go using an orangewood stick dipped in polish remover.
- Do not blow on nails or flap arms as you are letting each layer dry. This common practice can cause fogging or rippling.
- Every third day, apply a base coat followed by top coat to extend the life of your manicure and refresh the shine.
- Use oil twice a day to keep the skin and nails supple and well hydrated.
These tips were provide by Silva Nahabedian, Director of Education for Dazzle Dry.