
My kids love Halloween and all things associated with it. Of course the thing they love the most is the copious amounts of candy. I would stay they would probably rather the phrase be “Treat or Trick” instead of the other way around. Then they could just say “the first one please!” and go on their merry way.
Another thing they love about the sugar-filled holiday is the decorations. Black and orange suddenly become their favorite colors and fake, fuzzy spiders along with breezy, hanging ghosts are in their favor for about a month. I admit that I am not as much of a fan (of the décor, the candy is a different story) but because the children like it so much I thought I would appease them and create an easy and cute wreath to hang by our door.
Here’s how you can make your own Trick or Treat Halloween wreath!
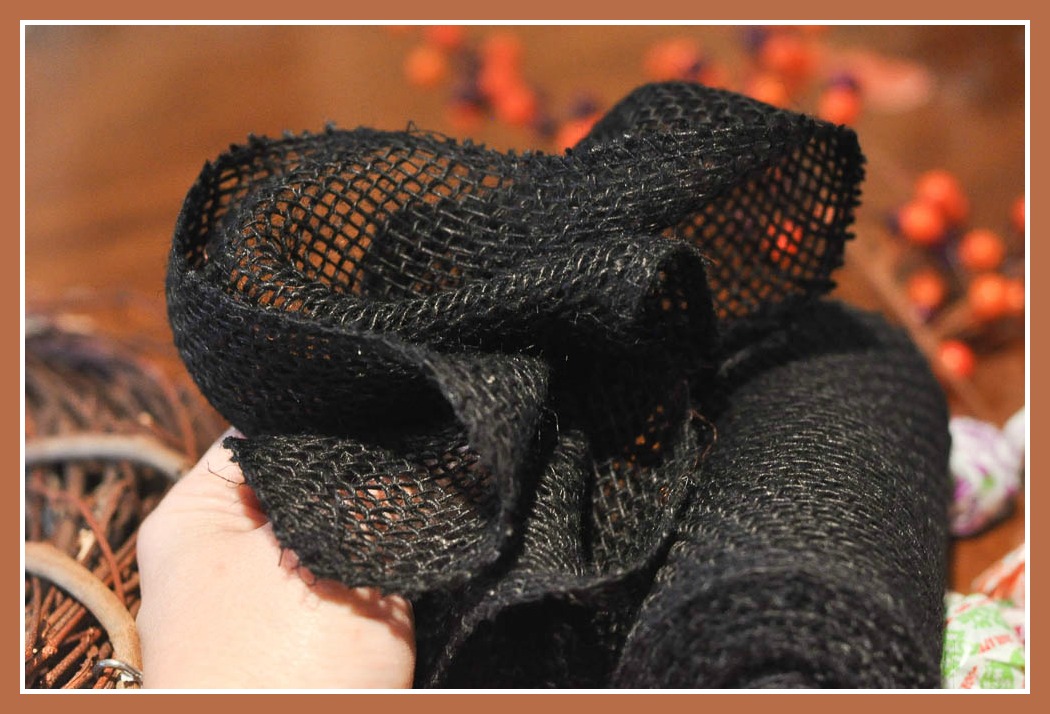
Step one: Assemble your supplies. I purchased a grapevine wreath but you can also buy a Styrofoam one. You will also need pins, scissors (preferably those that will cute wire as well), burlap or mesh ribbon, decorative ribbon, and any other accessories you would like to put on the wreath.

Step two: Cover one side of the wreath with the burlap, making this the front. Do this by gathering a section of it in your hand, and then pinning that section to the wreath with the floral pins. Continue to do this all the way around until it is covered.

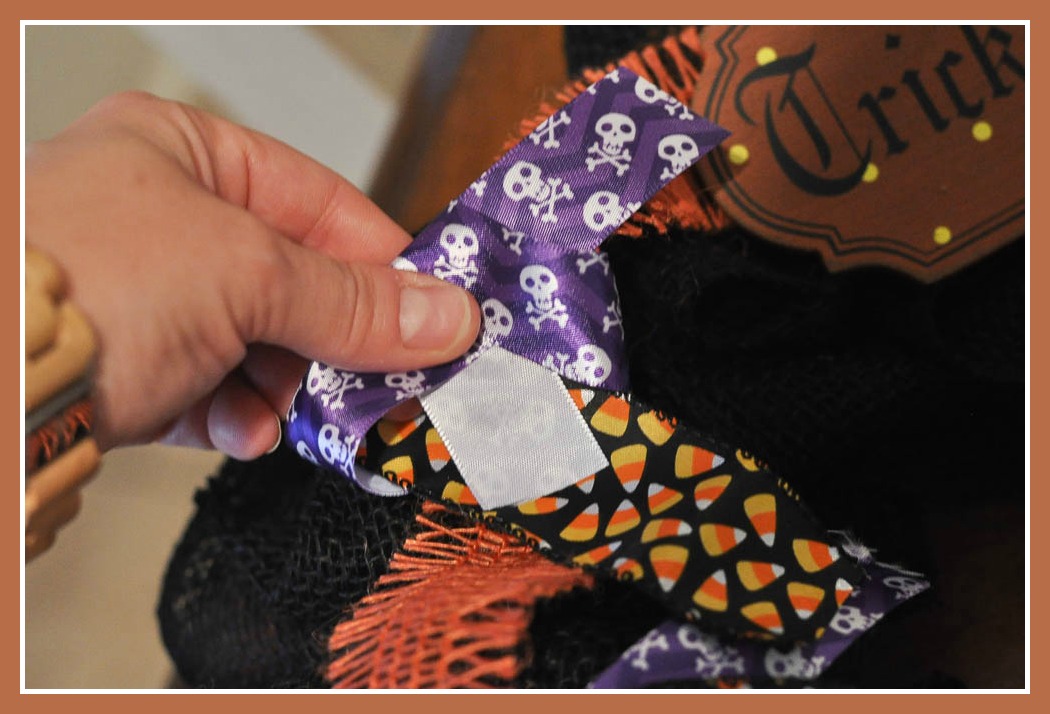
Step three: Add a section of burlap ribbon or other ribbon around the wreath and pin that in several places as well. Once that is secure, cut sections of decorative ribbon and tie them to the burlap ribbon to cover the pins. Next you can add any accessories. For my wreath I have little wooden ghosts and actual lollipops to add some actual “treats” to it.
Step four: Create a small bow with extra burlap ribbon then secured the sign with the ribbon that was attached to it, so that it would hang near the top.
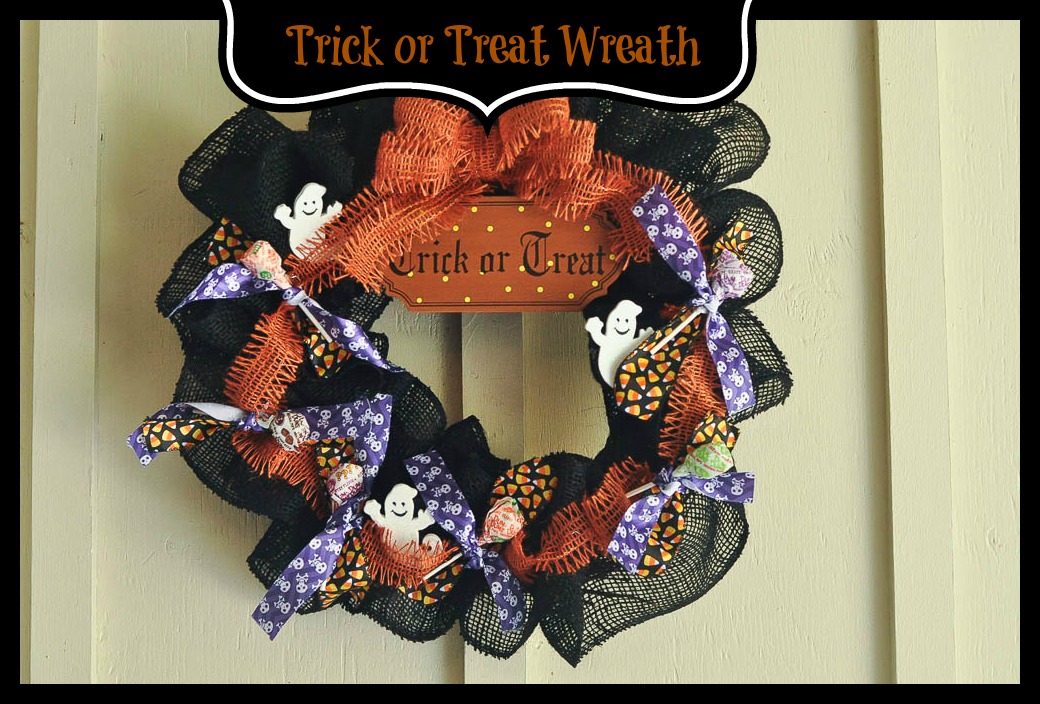
This wreath took only about 10 minutes to put together and it was a fun little project. Plus the kids love the real candy, of course!
Happy Creating!

Comments
This is so cute and it doesn’t look to complicated (I swear I am craft-challenged). I might try it. Thanks for the tutorial.